A couple of years ago (actually it’s been more like a decade), I took a really fun workshop for Turkish paper marbling. The supplies were expensive because they used natural materials – and the materials really affected what you could achieve with the marbling. Everything from the paper to the paints and substrates to even the paintbrushes affected the final look. It’s a very delicate, artisanal process that really requires mastery of the craft. The class was a ton of fun because I got a chance to explore traditional Turkish marbling patterns such as tulips and I also came up with my own patterns. I made a little heart pattern which I then turned into a greeting card too with a quote from the poet, Rumi.
Now if you love the look of marbleized crafts but don’t want to spend on an artisanal marbling kit and invest in a class to learn the craft, there is another way. All you need is nail polish. So let’s get started!
This post contains affiliate links.

How To Marbleize Pumpkins
Materials
- Plastic container
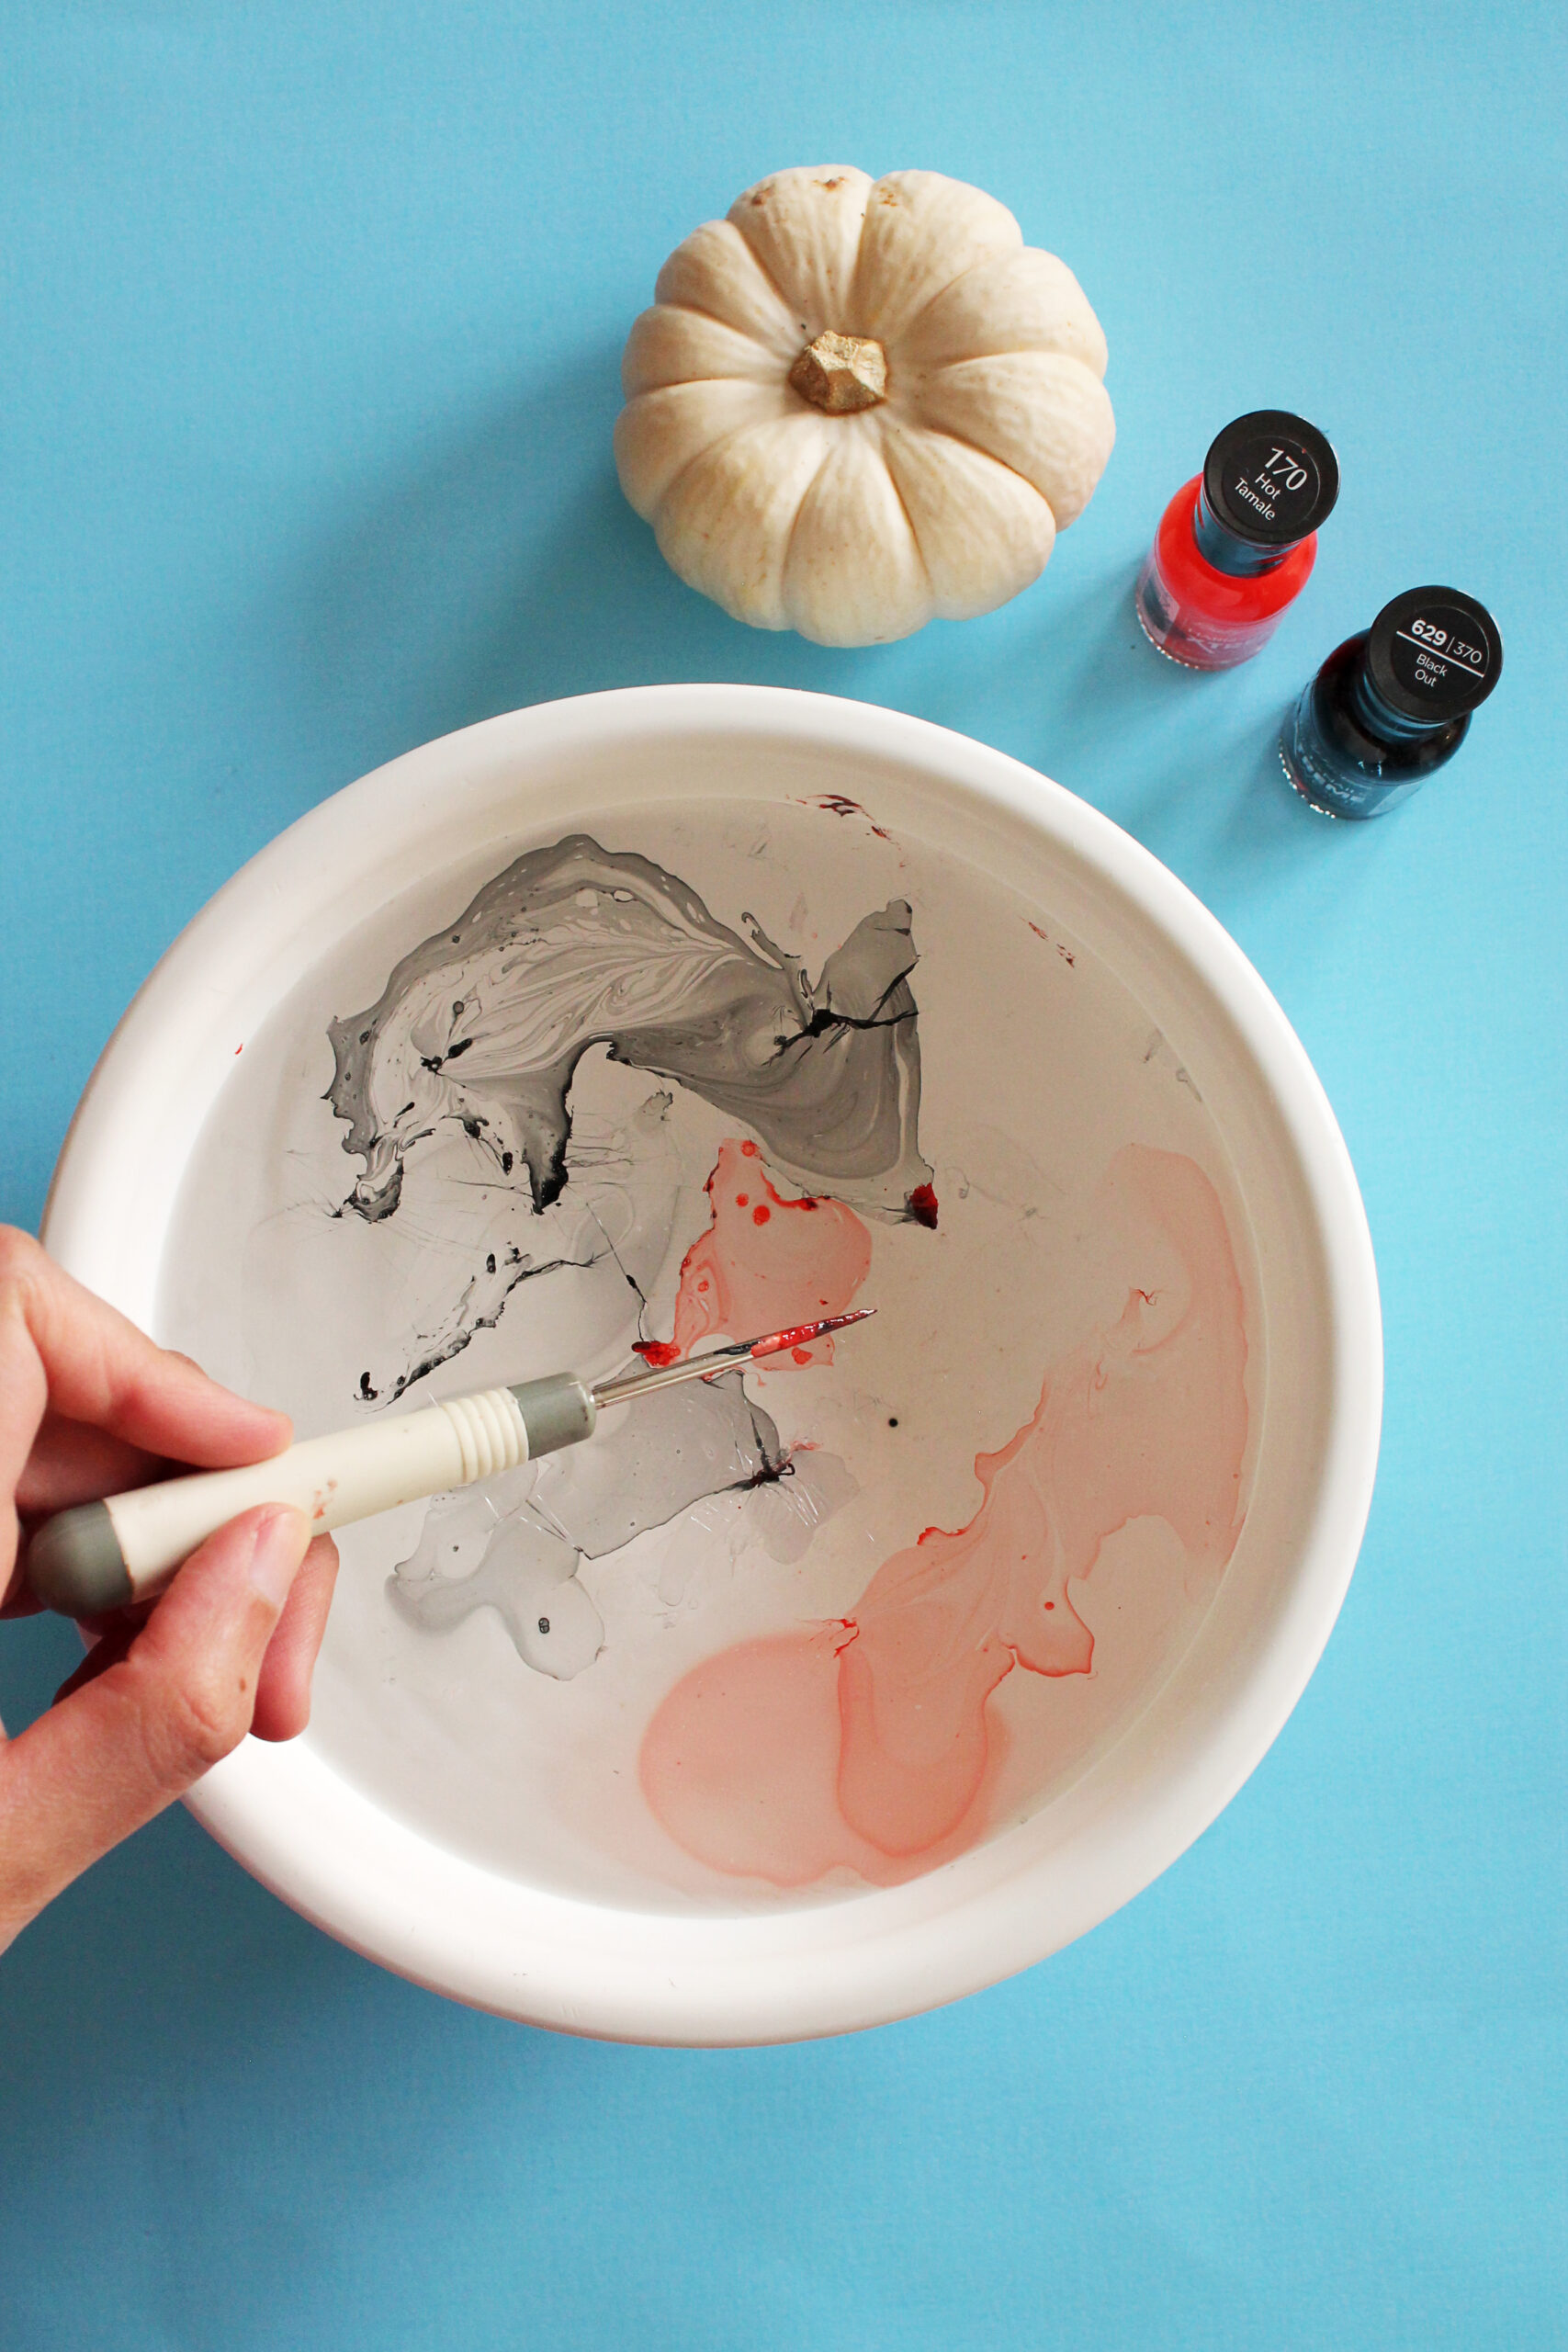
- Thin stick for swirling, like a dotting tool for nails, tailor’s awl or bamboo stick (I found that a metal stick worked better than a wooden one with the nail polish especially when creating thin swirls but you can get away with a bamboo stick as well.)
- Nail polish, in colors of your choice.
- Paper towels for drying
- White mini pumpkins (I think natural pumpkins take on the marble look better but you can try it out with faux pumpkins, if you like. I just haven’t tried that.)
Steps
- Fill container with lukewarm water and begin to add drops of nail polish. Stir immediately to create swirls because the nail polish will form a film on the water very fast.
- Submerge the pumpkin in the water, letting it soak up the film and then pull out.
- Let pumpkin dry (I normally just hold it in my hand for about a minute and then place it down on a paper towel.)
A note about container size: the container you choose should be about double the circumference of your pumpkins otherwise when you dunk the pumpkin, you won’t be able to marbleize your whole pumpkin. If you choose a container like the size of a yogurt tub, the film will only be enough to cover the bottom of the mini pumpkin (then you’d have to marbleize the top separately.) The nail polish film can be thought of as a wrapping – is there enough wrapping to cover the entire the pumpkin? The size of the container should be such that if you had a piece of fabric the size of your container, it would be able to cover your entire pumpkin. (I hope that makes sense.)
This is a helpful tip to think about when you’re trying to marbleize items larger than a mini pumpkin!
Styling Marbleized Pumpkins
Once dried, I styled the marbleized pumpkins by using a cloche, brass candlesticks and candles. Place this arrangement on a small table or on the fireplace mantle for elegant, yet homemade, fall decor. I like the idea of mixing marbled mini pumpkins with natural, plain mini pumpkins just for some visual contrast.
I originally posted this craft on marthastewart.com for their Halloween lineup of crafts which is why the nail polish colors are orange and black in this demo. But it’s such as nice craft, I’m itching to try this one out again in different colors for fall or even different types of items for other occasions!
There are many different ways to marbleize pumpkins – the artisanal way, with shaving cream and in this tutorial, with nail polish! Do you like the look of marbling and what would you like to marble?
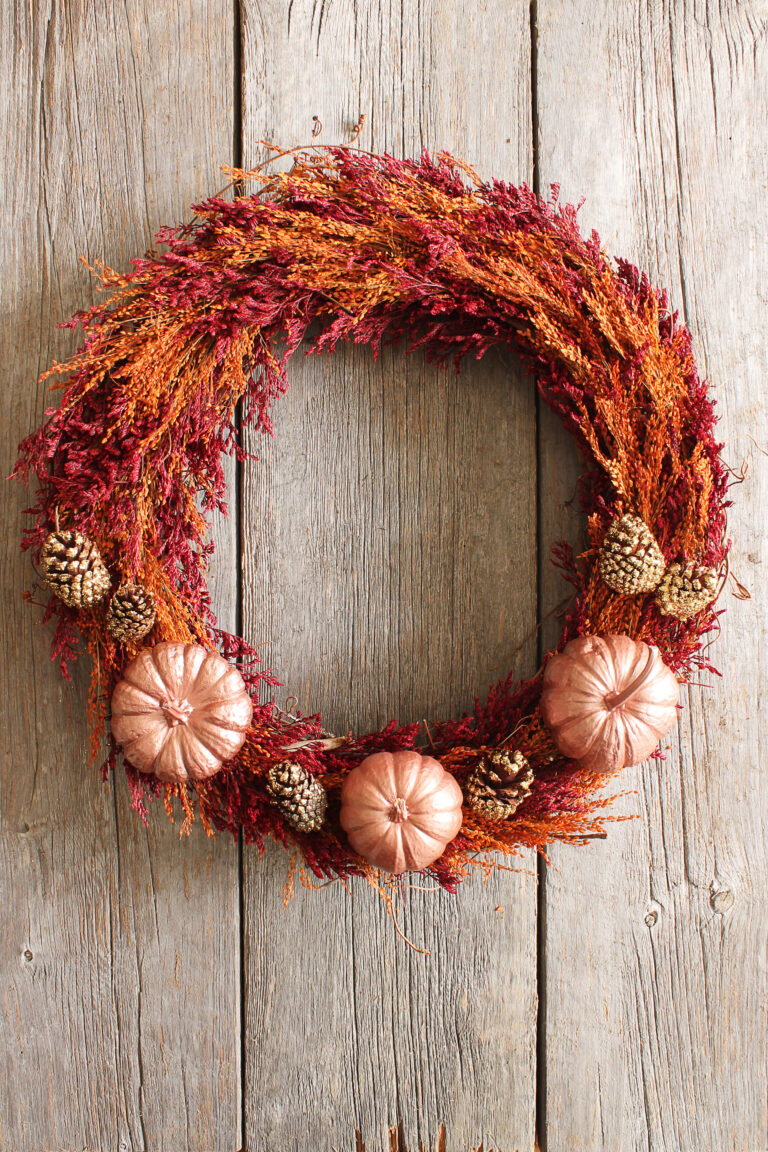
Want more crafts with mini pumpkins? Check out my DIY rose gold fall wreath.