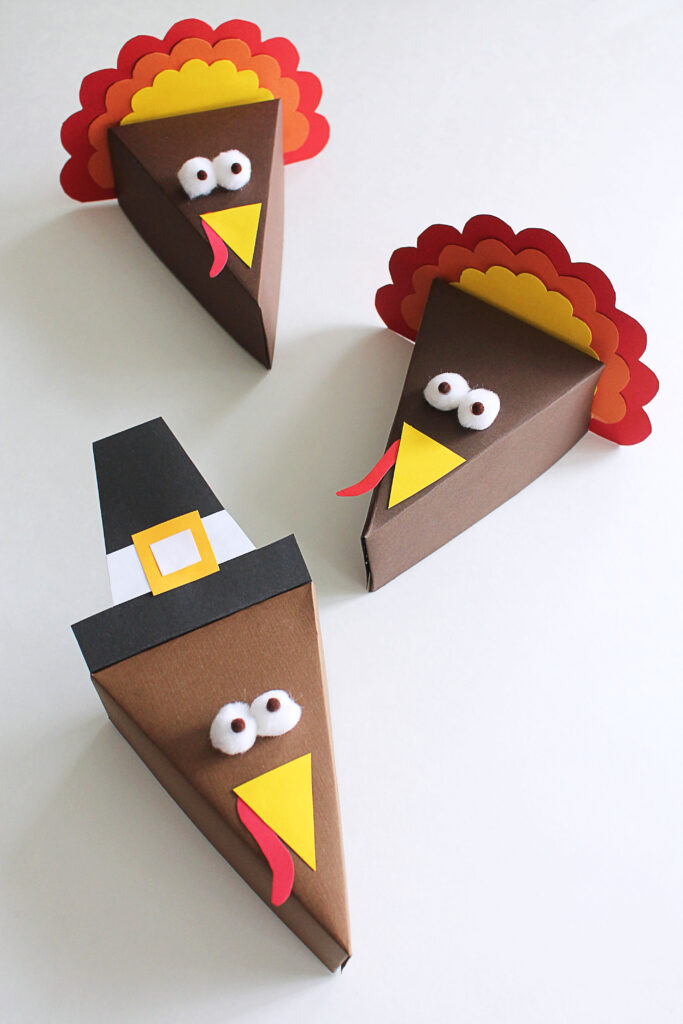
No Thanksgiving would be complete without pie! If you’re lucky, there’s pie leftover to take home for the next day. That’s where this DIY Thanksgiving Pie Slice Box comes in handy. Uniquely designed to resemble turkey birds and fit your favorite slice of pie. If you’re the type of person that likes to give favors at the end of each party, try your hand at this Thanksgiving Pie Slice Box. Your guests will leave your party smiling! If you plan on making a lot of these pie boxes, a Cricut machine will make your life a whole lot easier by cutting down on the workload.
Psst – Black Friday is the best time to invest in a Cricut machine. Personally, I waited too long to get one and now I can’t image how I used to do all this cutting by hand.
This post contains affiliate links.
How To Make Thanksgiving Pie Slice Boxes
Materials
- Printable clipart
- Cardstock paper – you’ll need a lot of brown and a few sheets of red, orange, yellow
- Small white pompoms and super teeny tiny brown pompoms OR googly eyes (I prefer the ones with adhesive backing)
- Hot glue gun
- White glue, glue stick or glue dots
- Scissors
Steps
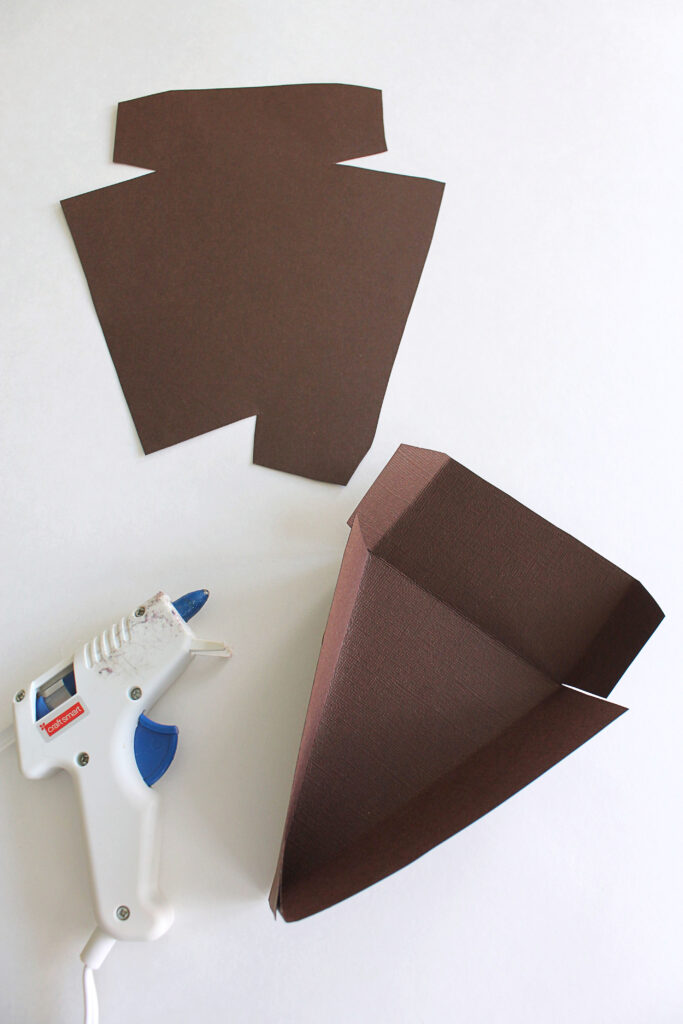
- Start by purchasing and printing out the accompanying clipart for this craft. Trace out the pie box template onto brown card stock paper and cut it out using scissors. If you have a Cricut machine, you can make the entire process simpler by having the machine cut out the templates directly onto brown card stock paper.
- Once the template is cut, fold in the tabs as shown and hot glue into place. Do this for both the lid of the pie box and the bottom.

3. Next, it’s time to make the turkey’s face. Use yellow cardstock (or even a lightweight paper like construction paper) to make the turkey beak. Use red paper to make the turkey’s wattle. Although you can use lightweight paper to decorate the turkey’s face, just make sure to use thick cardstock for the pie box itself, if you want it to be sturdy enough to actually hold pie!
4. For the eyes, I used two sizes of pompoms – small white and extra, teeny-tiny, brown pompoms which I hot glued on because I think pompoms always adhere best with hot glue. Alternatively, you can just as easily use googly eyes – the ones with adhesive backing will be especially handy in this craft if you plan on making a few of these boxes.
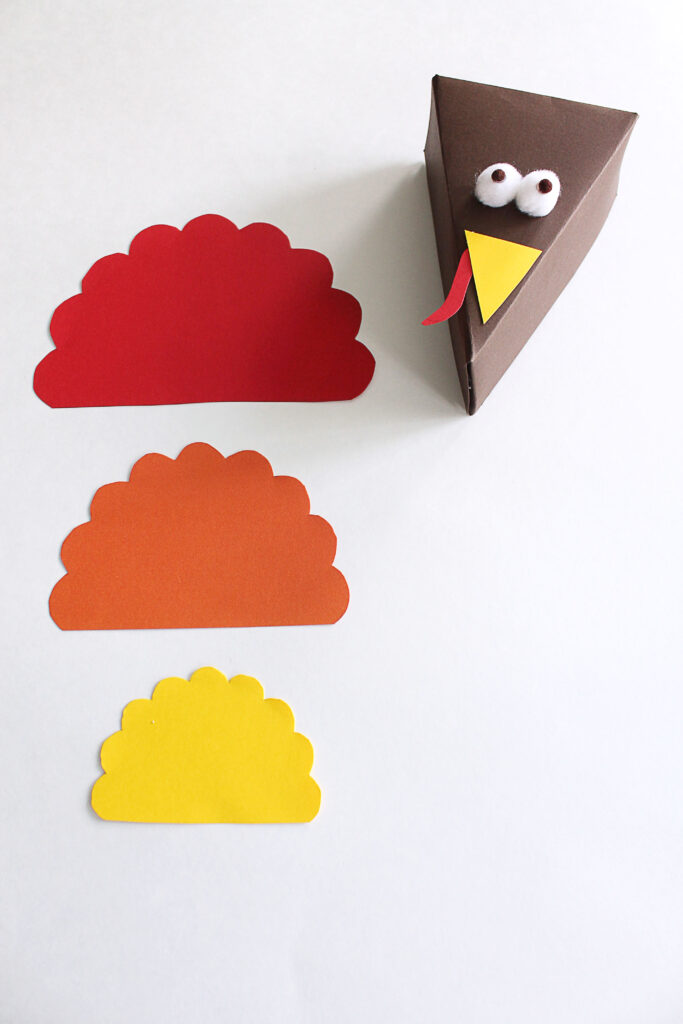
5. Time to work on the turkey’s plumage! Use the clipart to cut out the feathers. I used 3 different colors of paper – red, orange and yellow because I think the color combination looks festive.
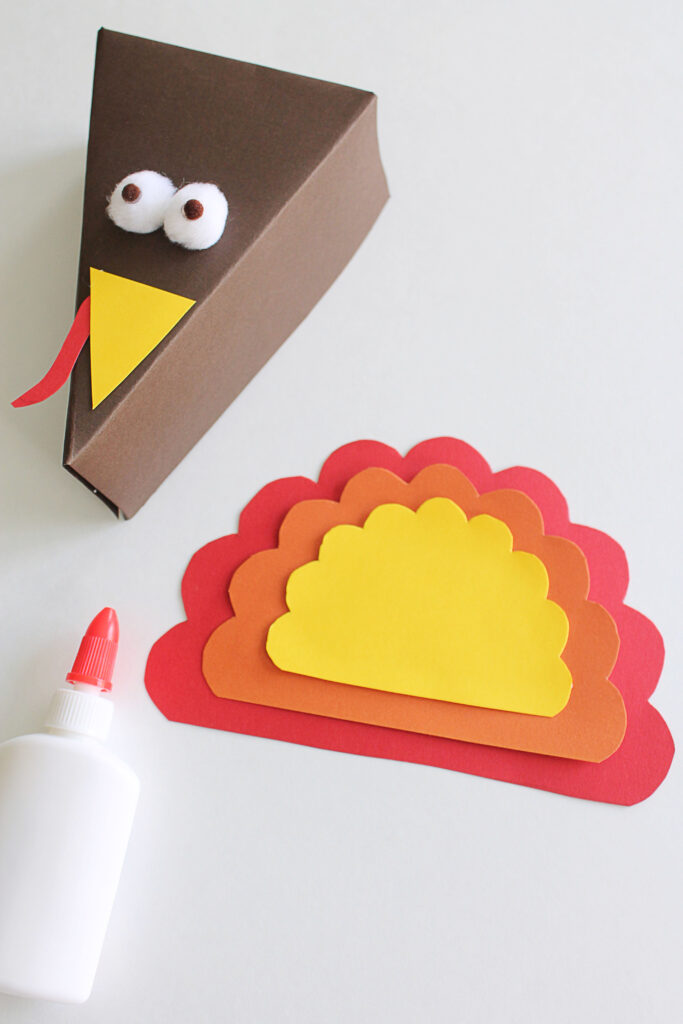
6. Glue the feather shapes (they look like clouds!) one on top of each other. The smallest “cloud” should be at the top and the largest “cloud” at the bottom. I used white glue here because I like it better for adhering paper to each other. A glue stick or glue dots work great here too. I think hot glue can get messy when sticking thin sheets of paper and create unappealing depressions in lightweight paper.
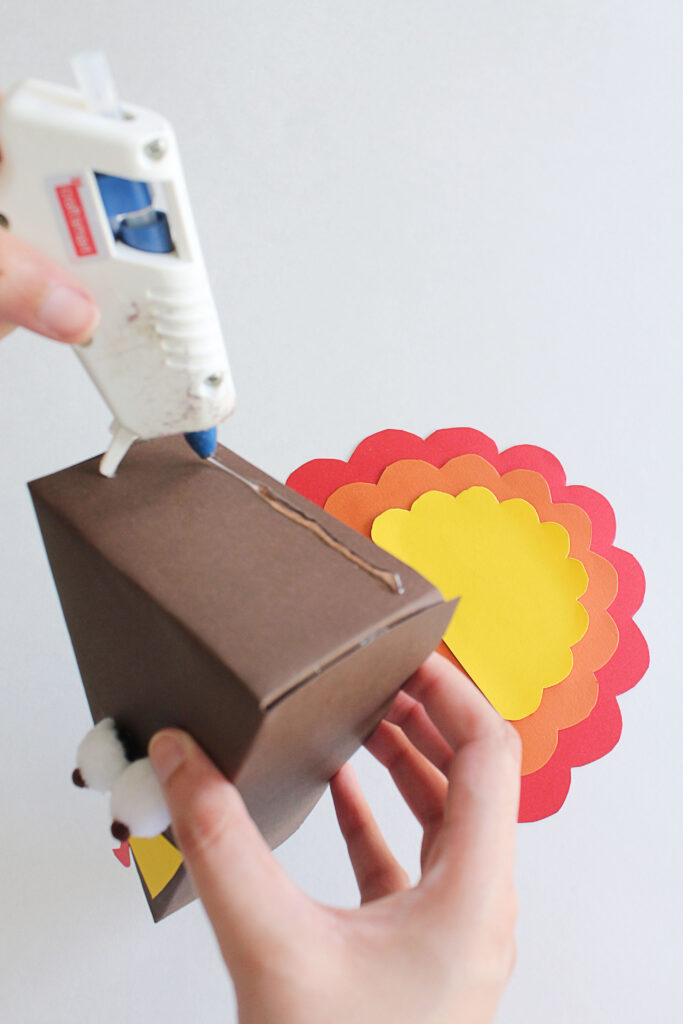
7. For adhering the plumage to the pie box I again switched to hot glue for a strong hold. I don’t want the plumage falling off as guests handle their pie boxes!
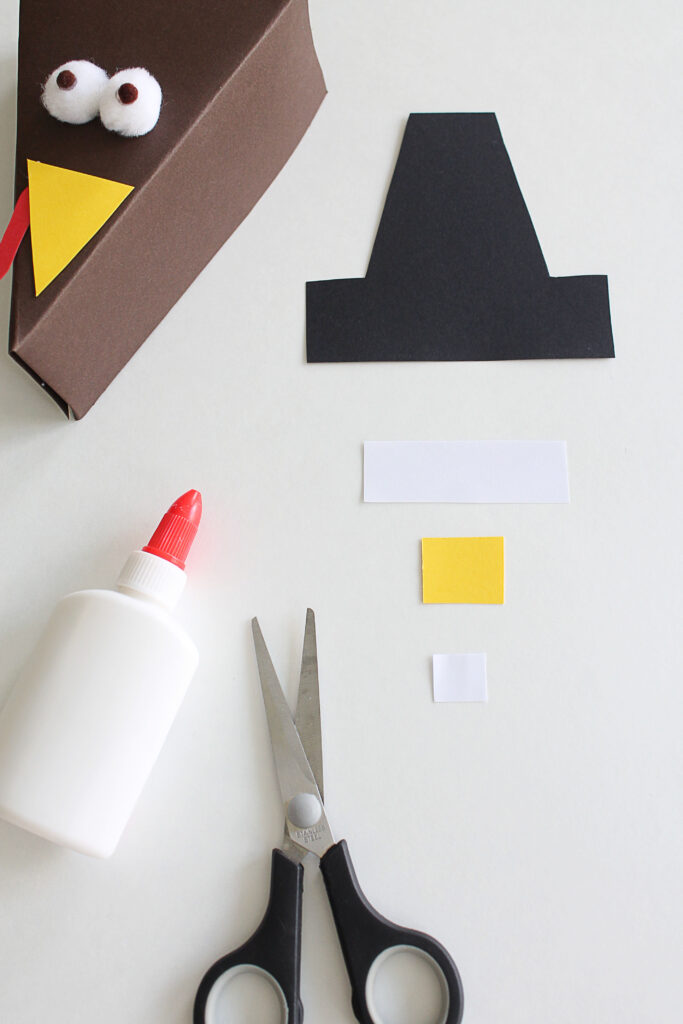
8. As an optional step, you can add a Thanksgiving headdress to your turkey by making a hat from paper as shown.
Although updating this craft in 2025 from it’s original 2017 version, I’m not a big fan of the hat. I love Patrick Hulse’s Thanksgiving children’s book which opens up conversation with young readers about the controversies surrounding Thanksgiving. I think it’s important to be mindful of these challenges in crafting too.
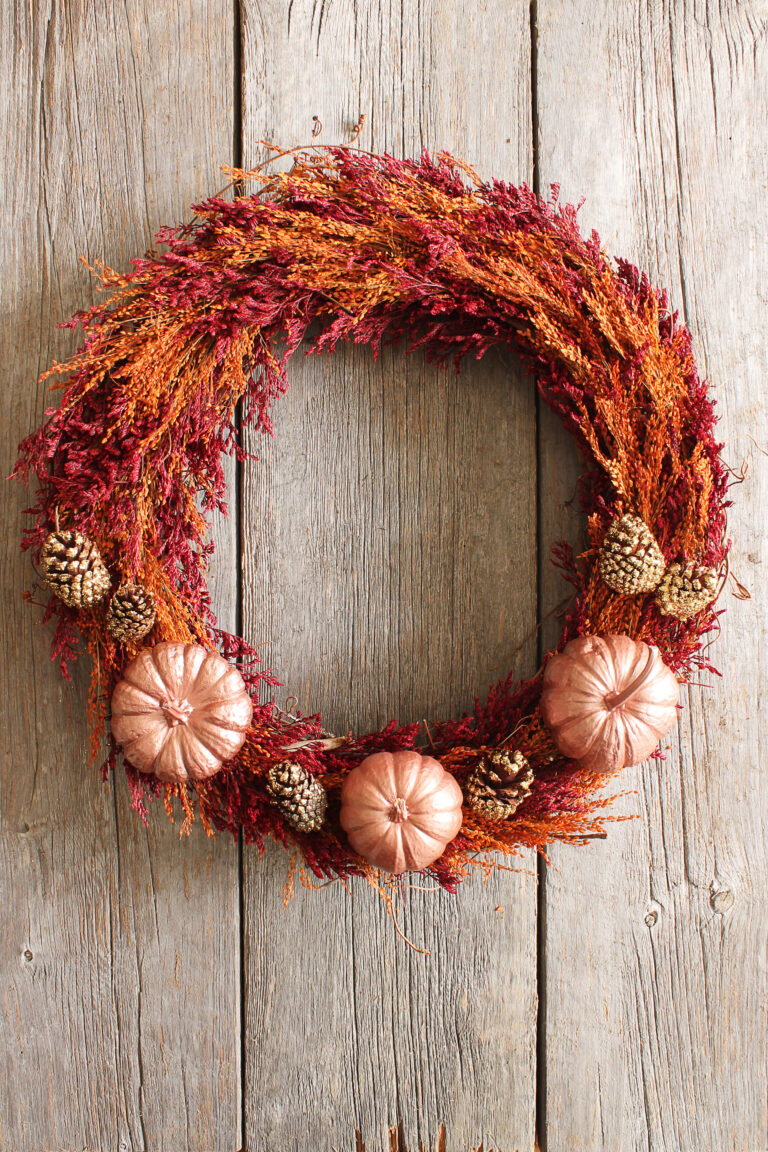
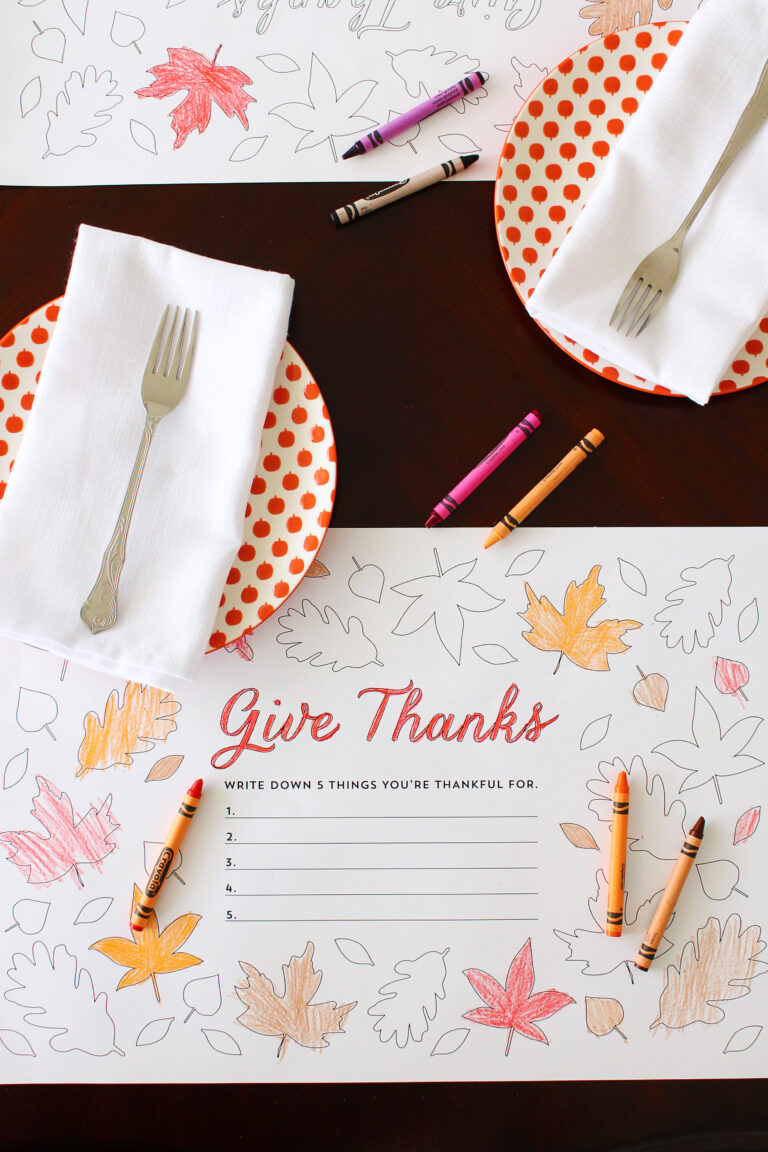
This craft pairs perfectly with my Printable Thanksgiving Coloring Mat. Need more Thanksgiving ideas? Don’t miss my Rose Gold Fall Wreath.
You can also view all my Thanksgiving crafts and DIY ideas.