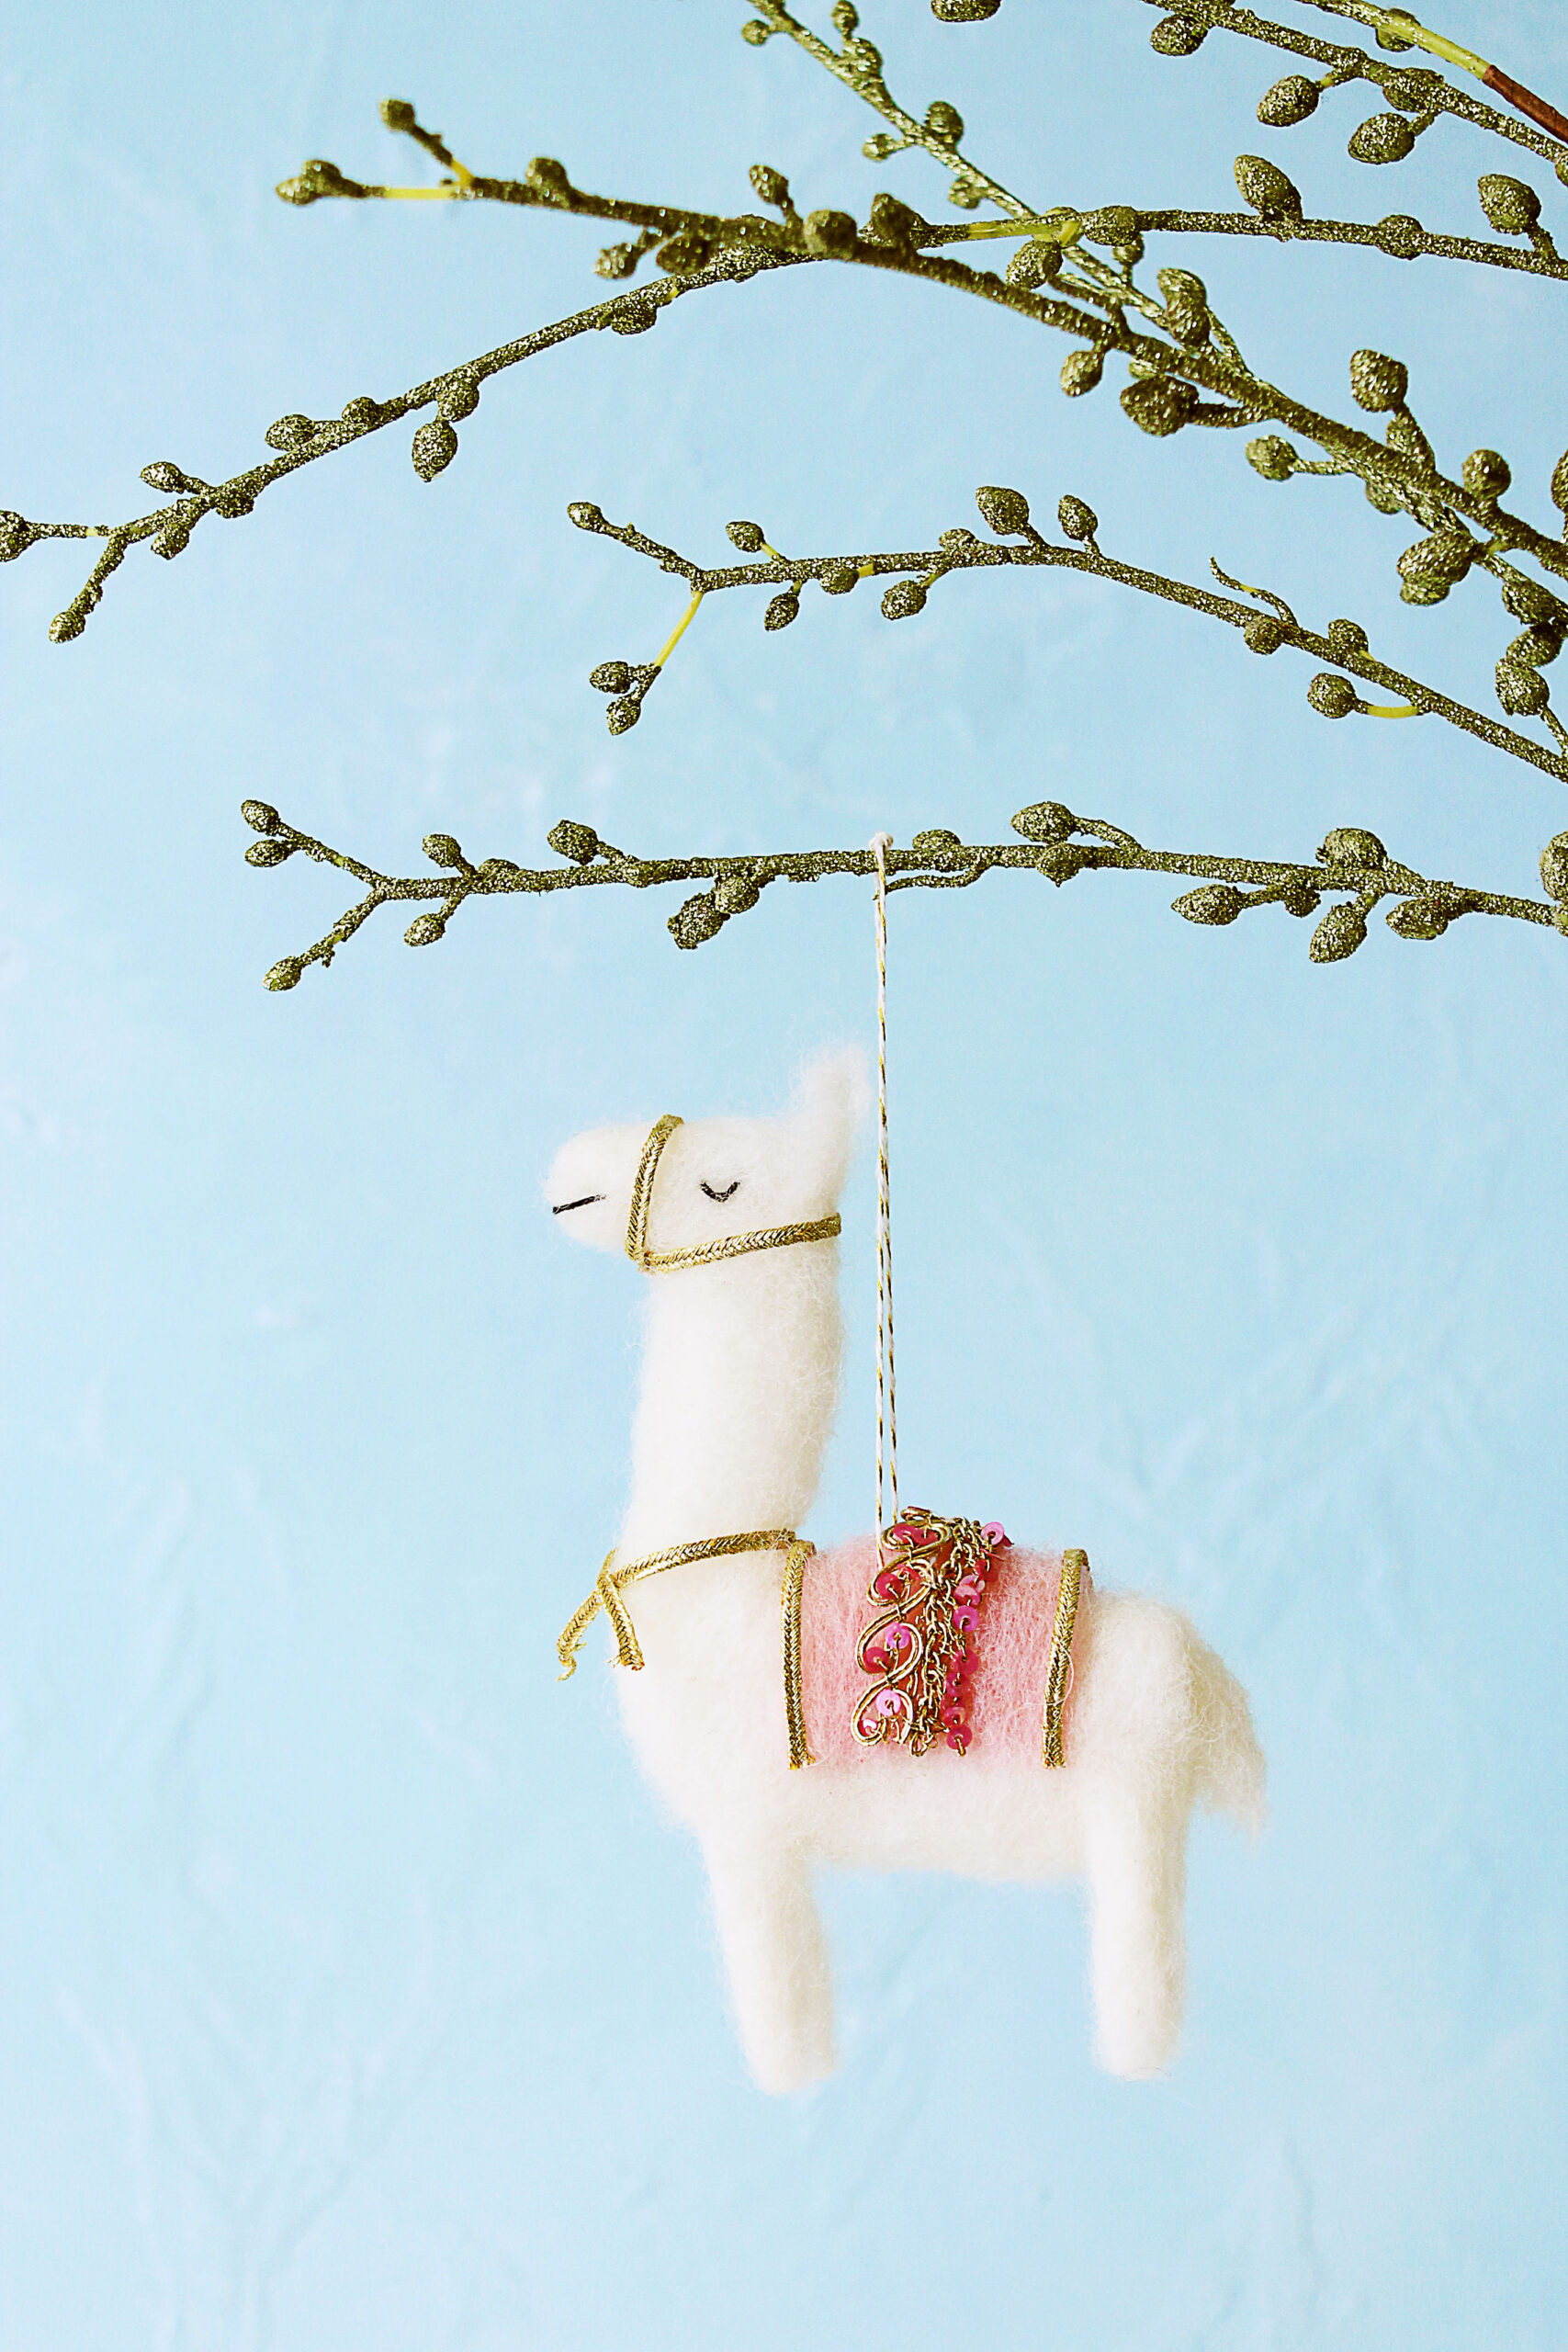
If you’ve been meaning to try needle felting, Christmas is the time to give it a try with this adorable needle felted llama. Even if you’ve done many needle felting projects and are basically a pro, this is still a craft you want to add to your winter projects list.
Word of caution: don’t give it as a gift. I mean, I’m all for handmade gifts. But when it comes to handmade projects that take quite some time and skill, I think you should keep it for yourself as a keepsake of your creative ability at that point in time. The truth is no one will appreciate your handmade creation that took you hours to make. The only person who can really appreciate it is you – or maybe your mom, if you have that kind of relationship.
If you have someone in your life that you’re absolutely certain will cherish this llama ornament that you worked so hard on with their dear life, then yes, gift it to them. Otherwise, hang it on your own tree to keep for years and feel proud every time you look at it! This isn’t a life advice blog but that’s my two-cents. Let me know if you agree or disagree in the comments.
Now let’s get into making the craft.
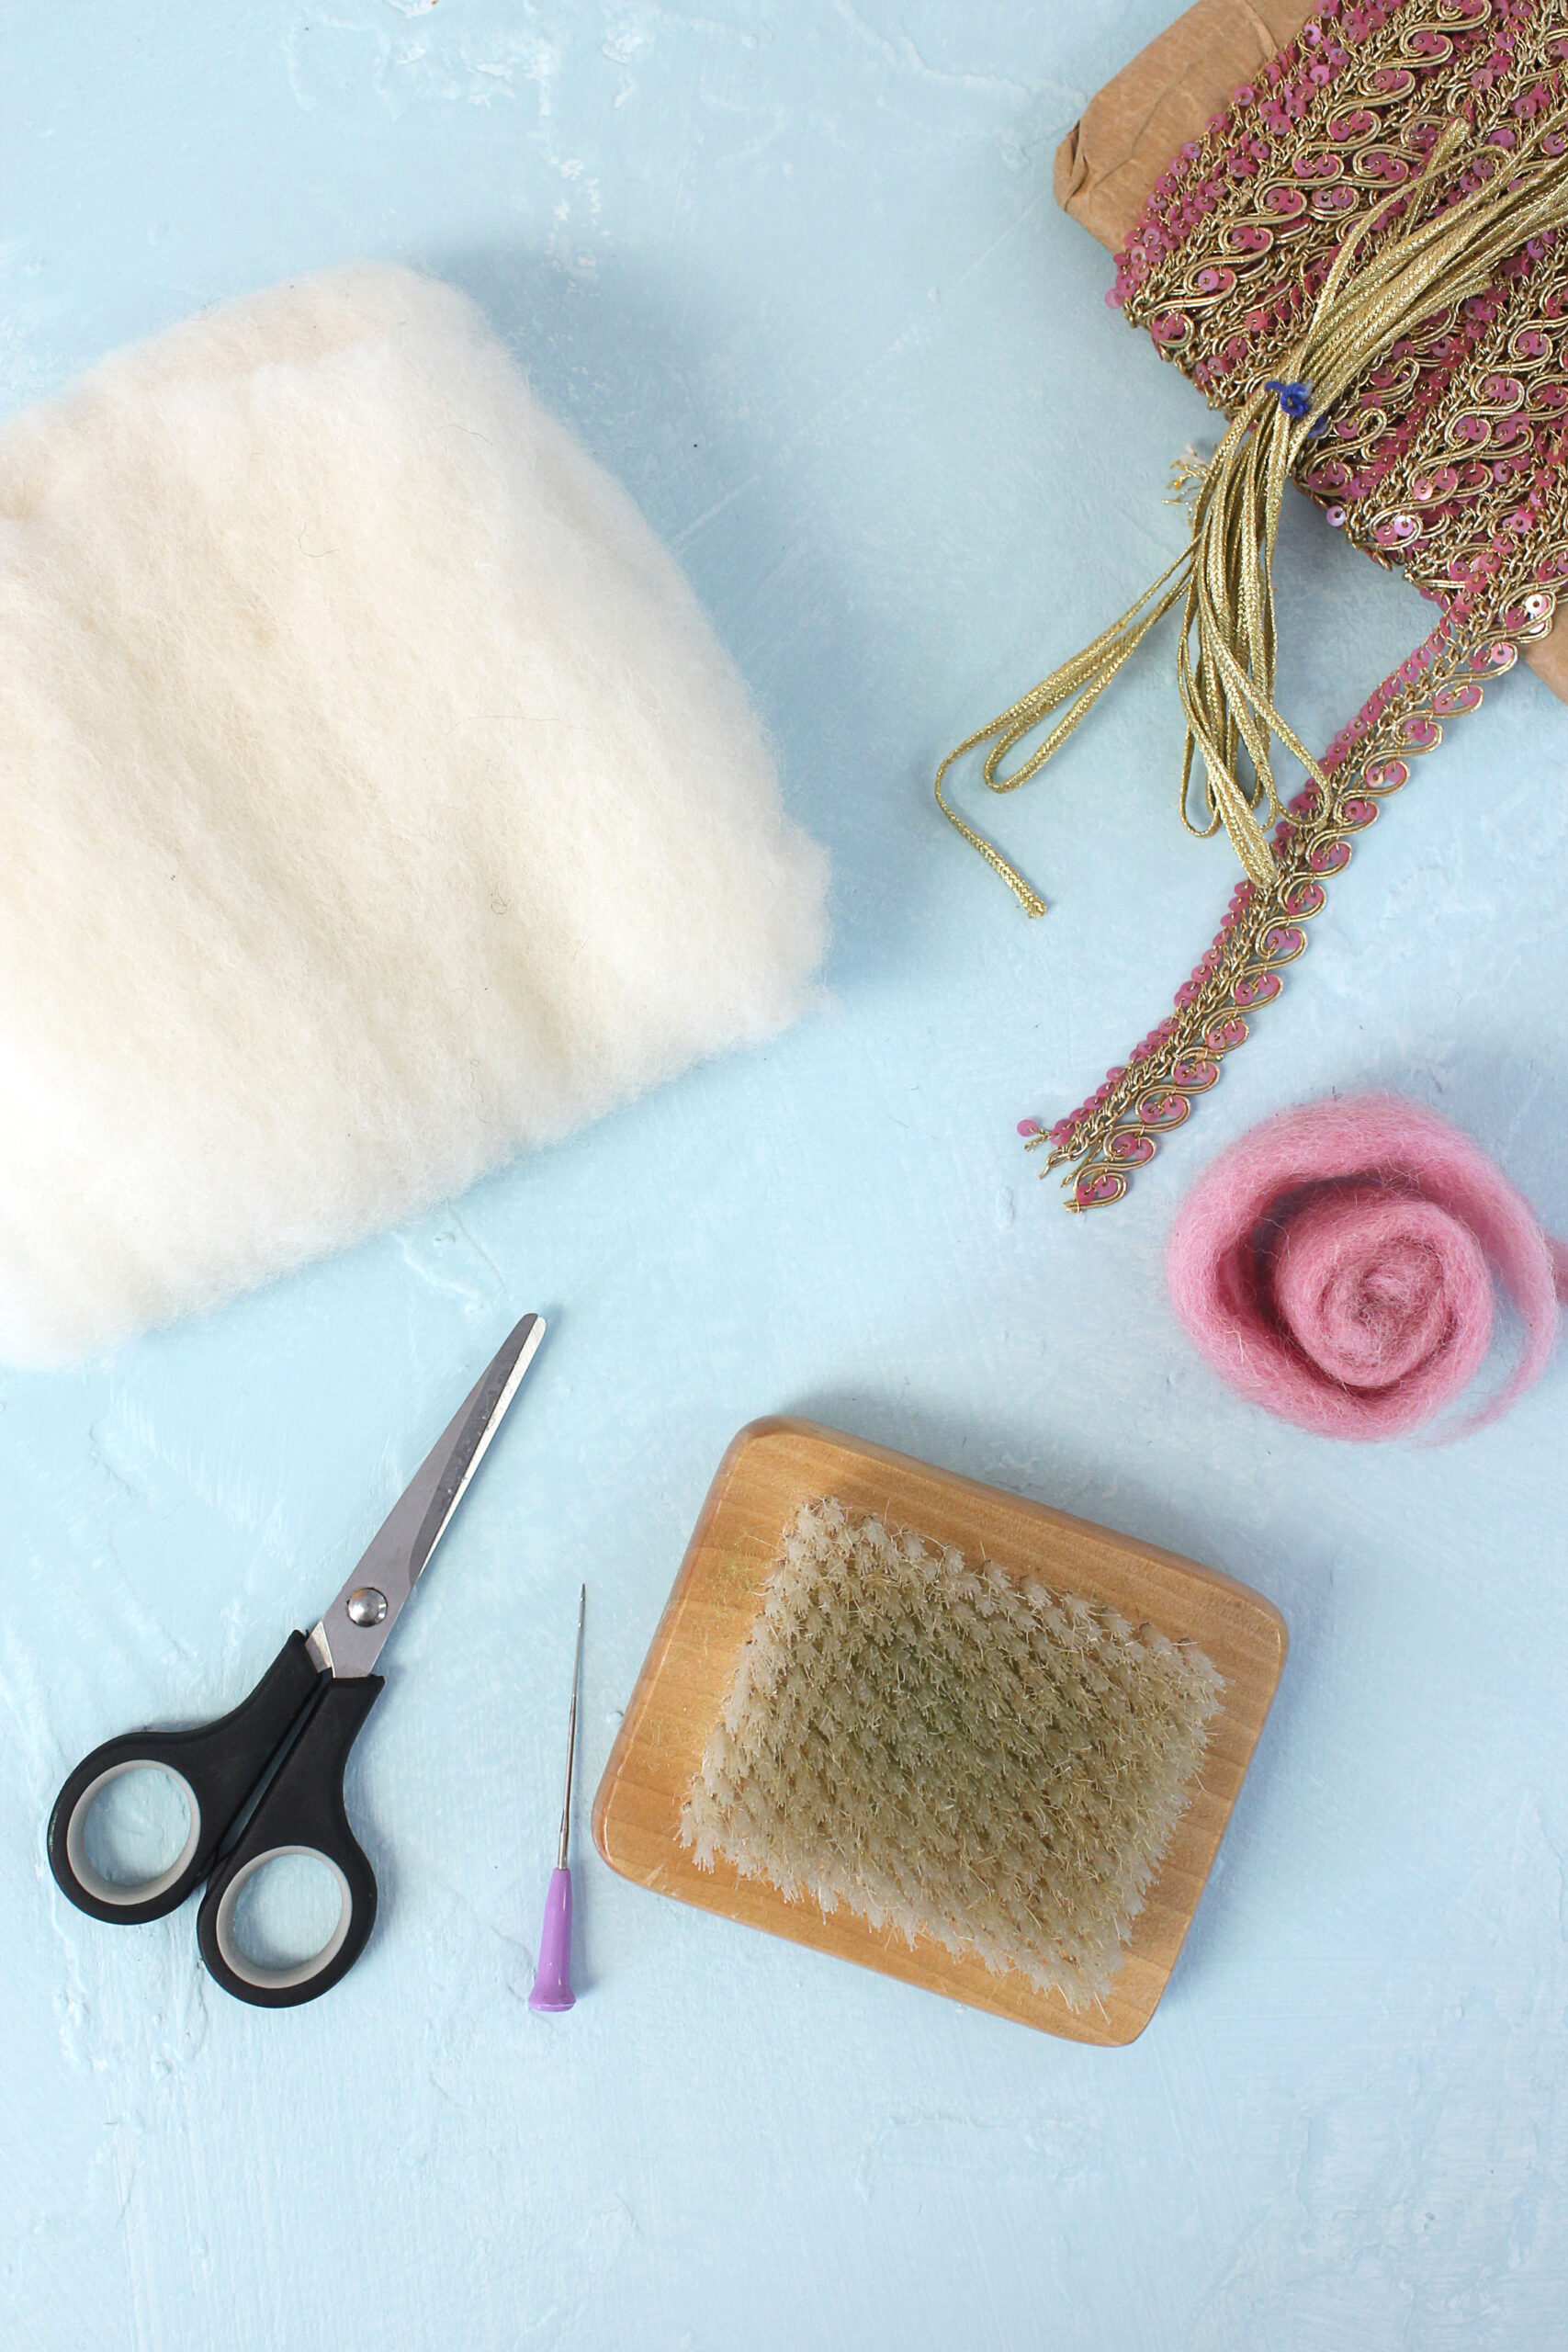
Materials
- White felt roving
- Colored felt roving for saddle (I used light pink because I love pink)
- Felting mat
- Felting needle
- Scissors
- Embroidery needle
- Black embroidery thread
- Gold twine
- Large needle (that the twine can feed through – I used a wool needle)
- Ribbons of choice for a decorative touch (optional but I went with a sequin trimmed fancy ribbon and a gold cord)
- Hot glue gun (optional)
Steps
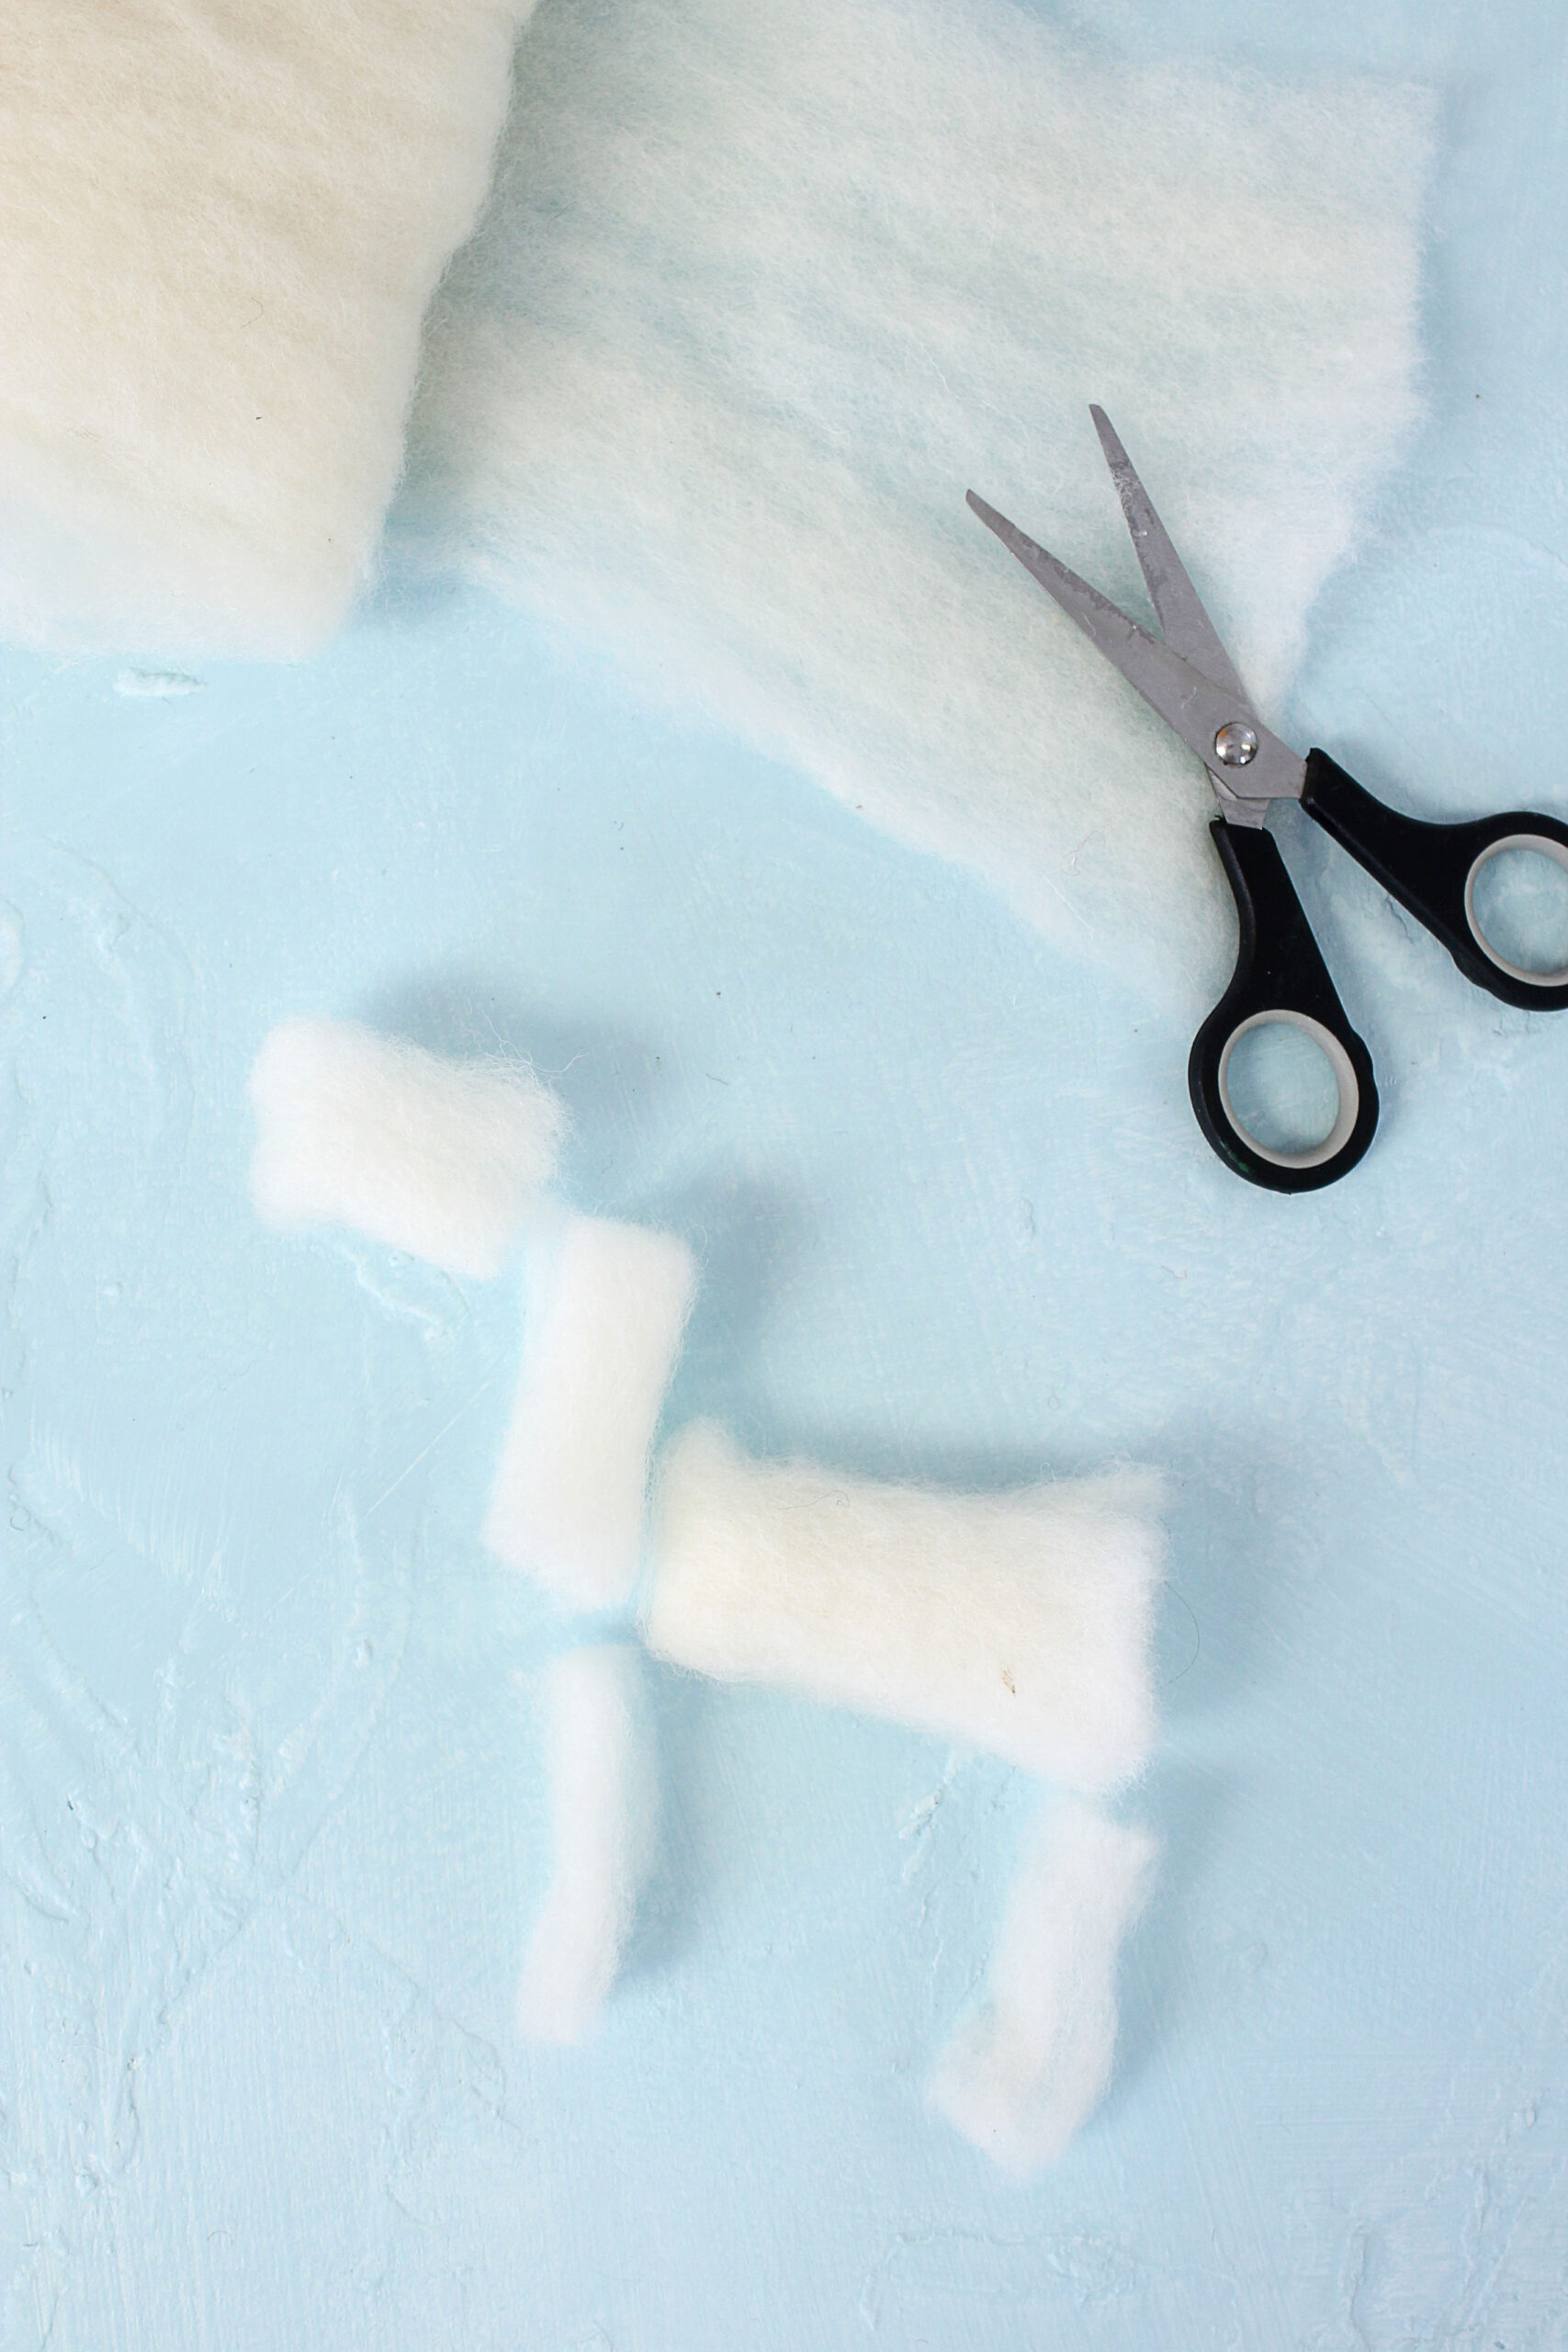
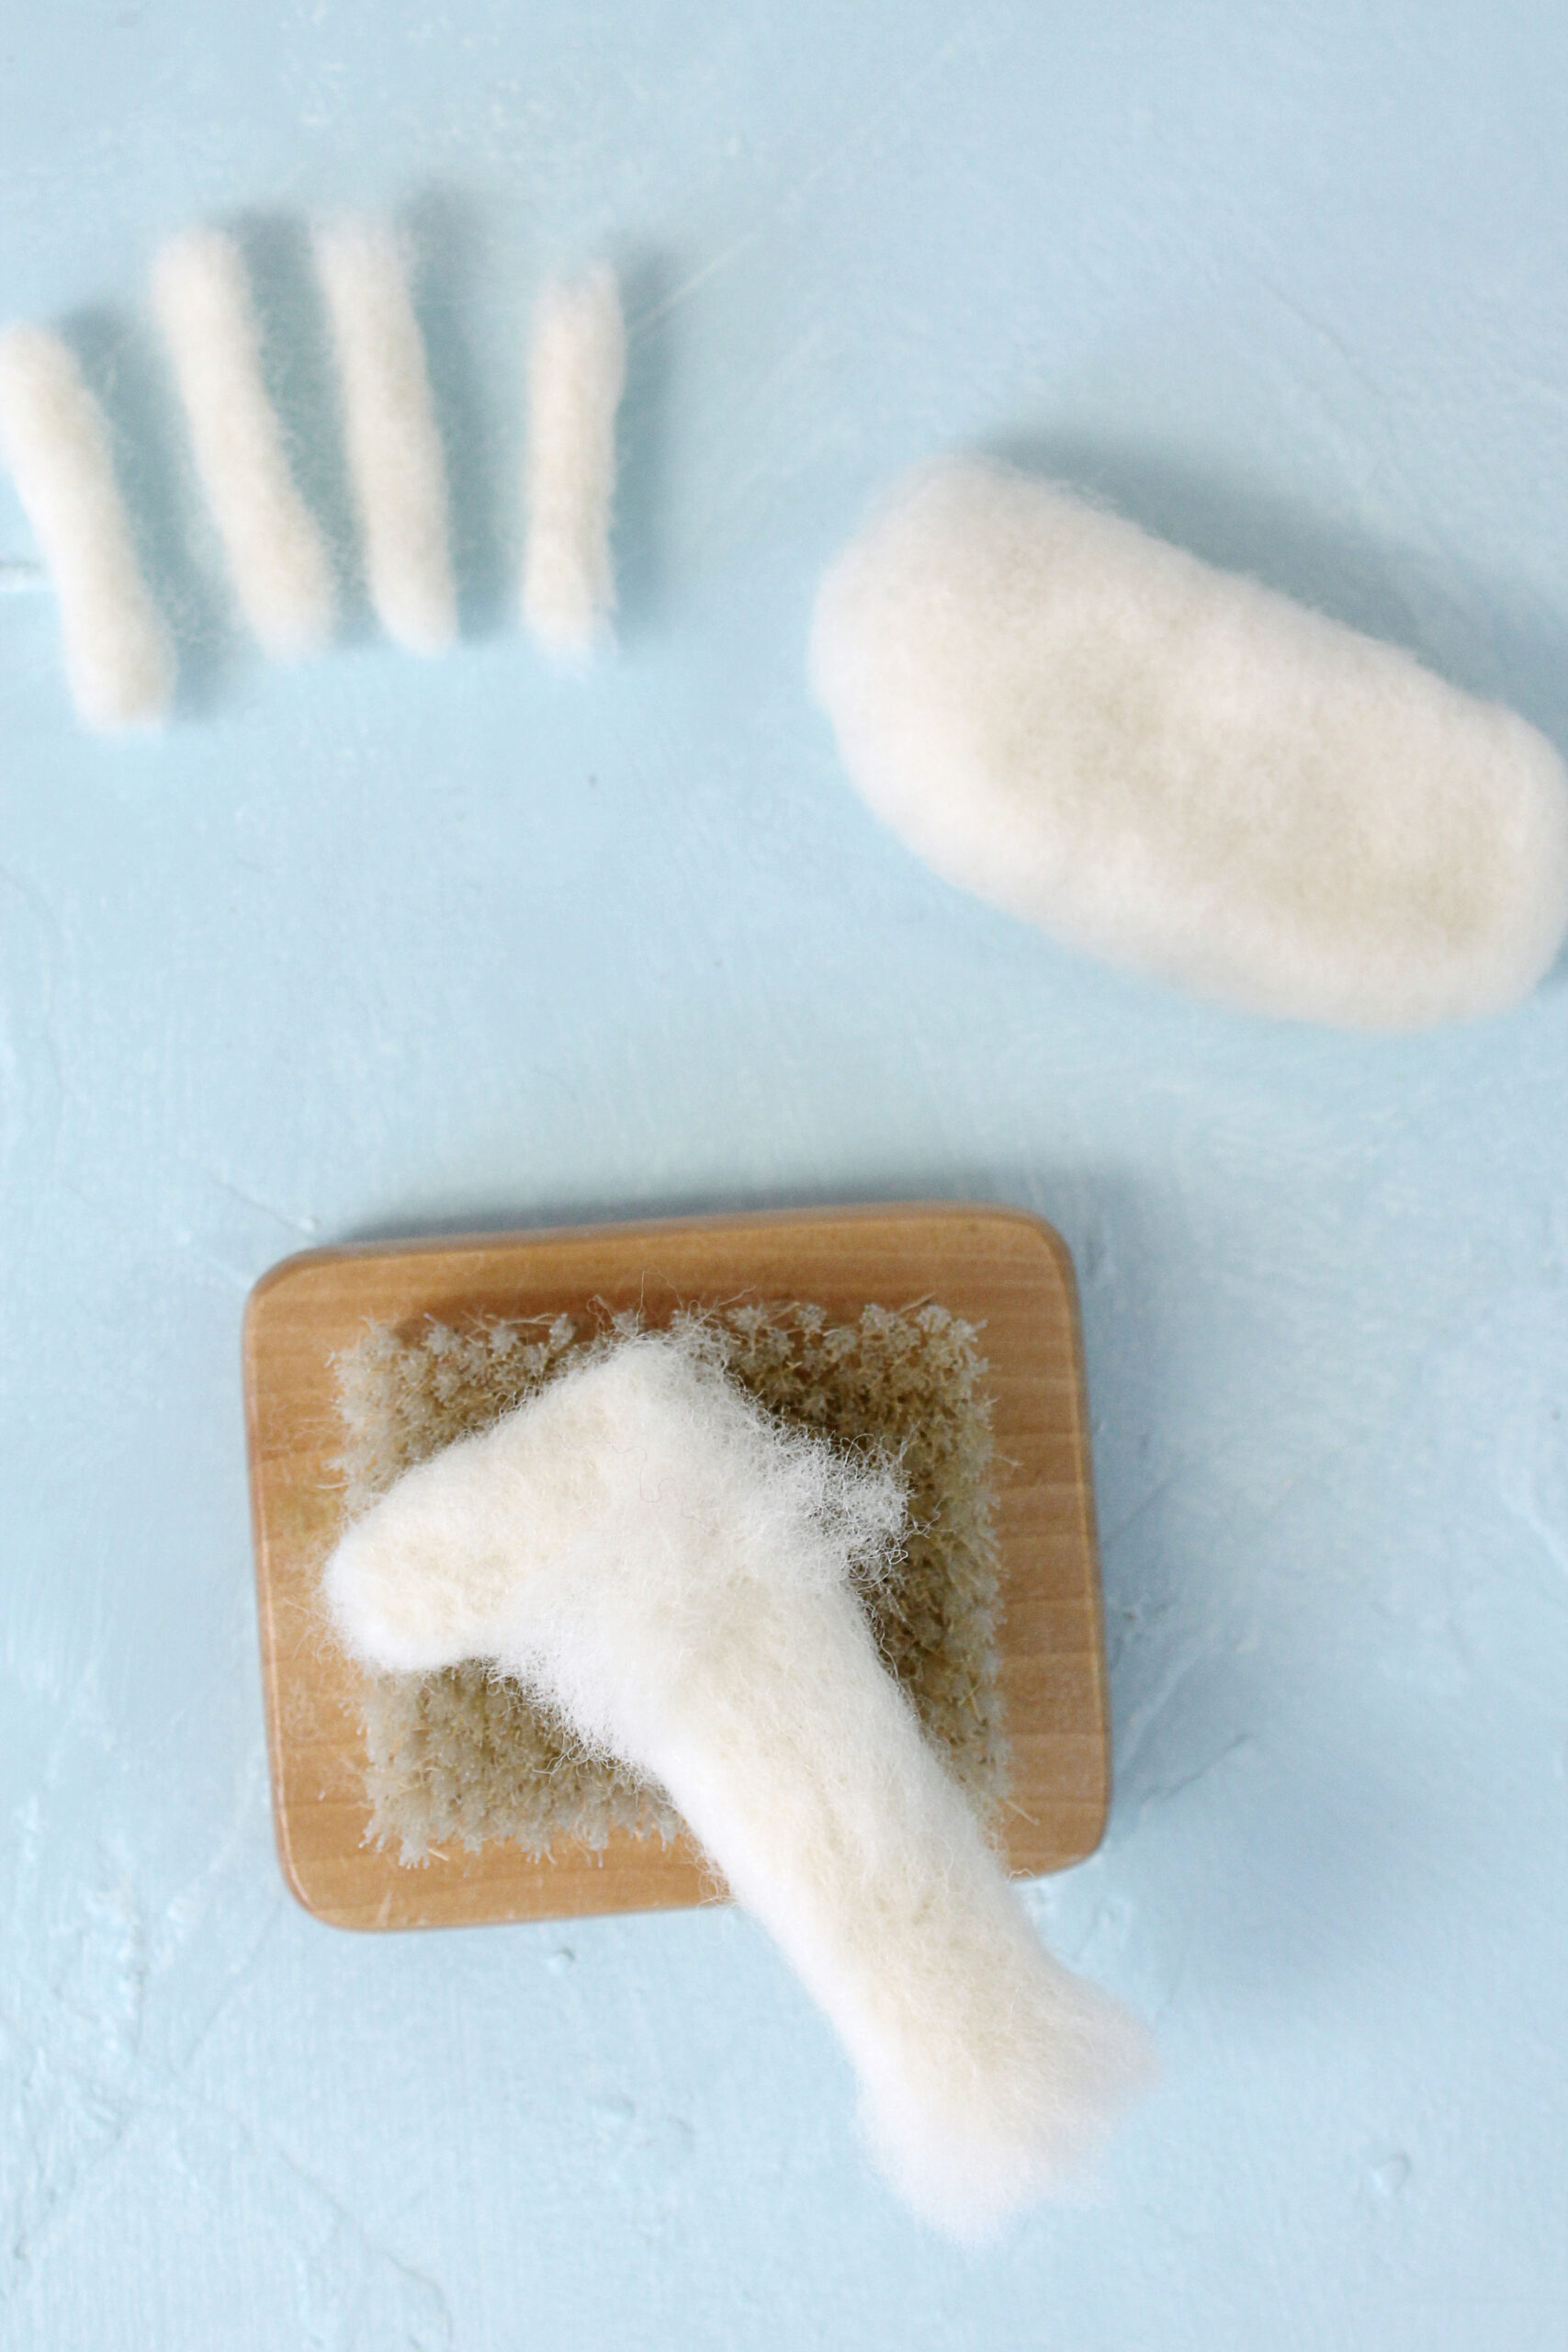
- The first thing is to cut and allot felt roving for the different body parts of the llama as shown. For each body part, the roving is rolled up on itself several times so it’s nice and thick. (Don’t worry if you feel the llama ornament looks too large at this moment; as you needle felt, the roving will depress.)
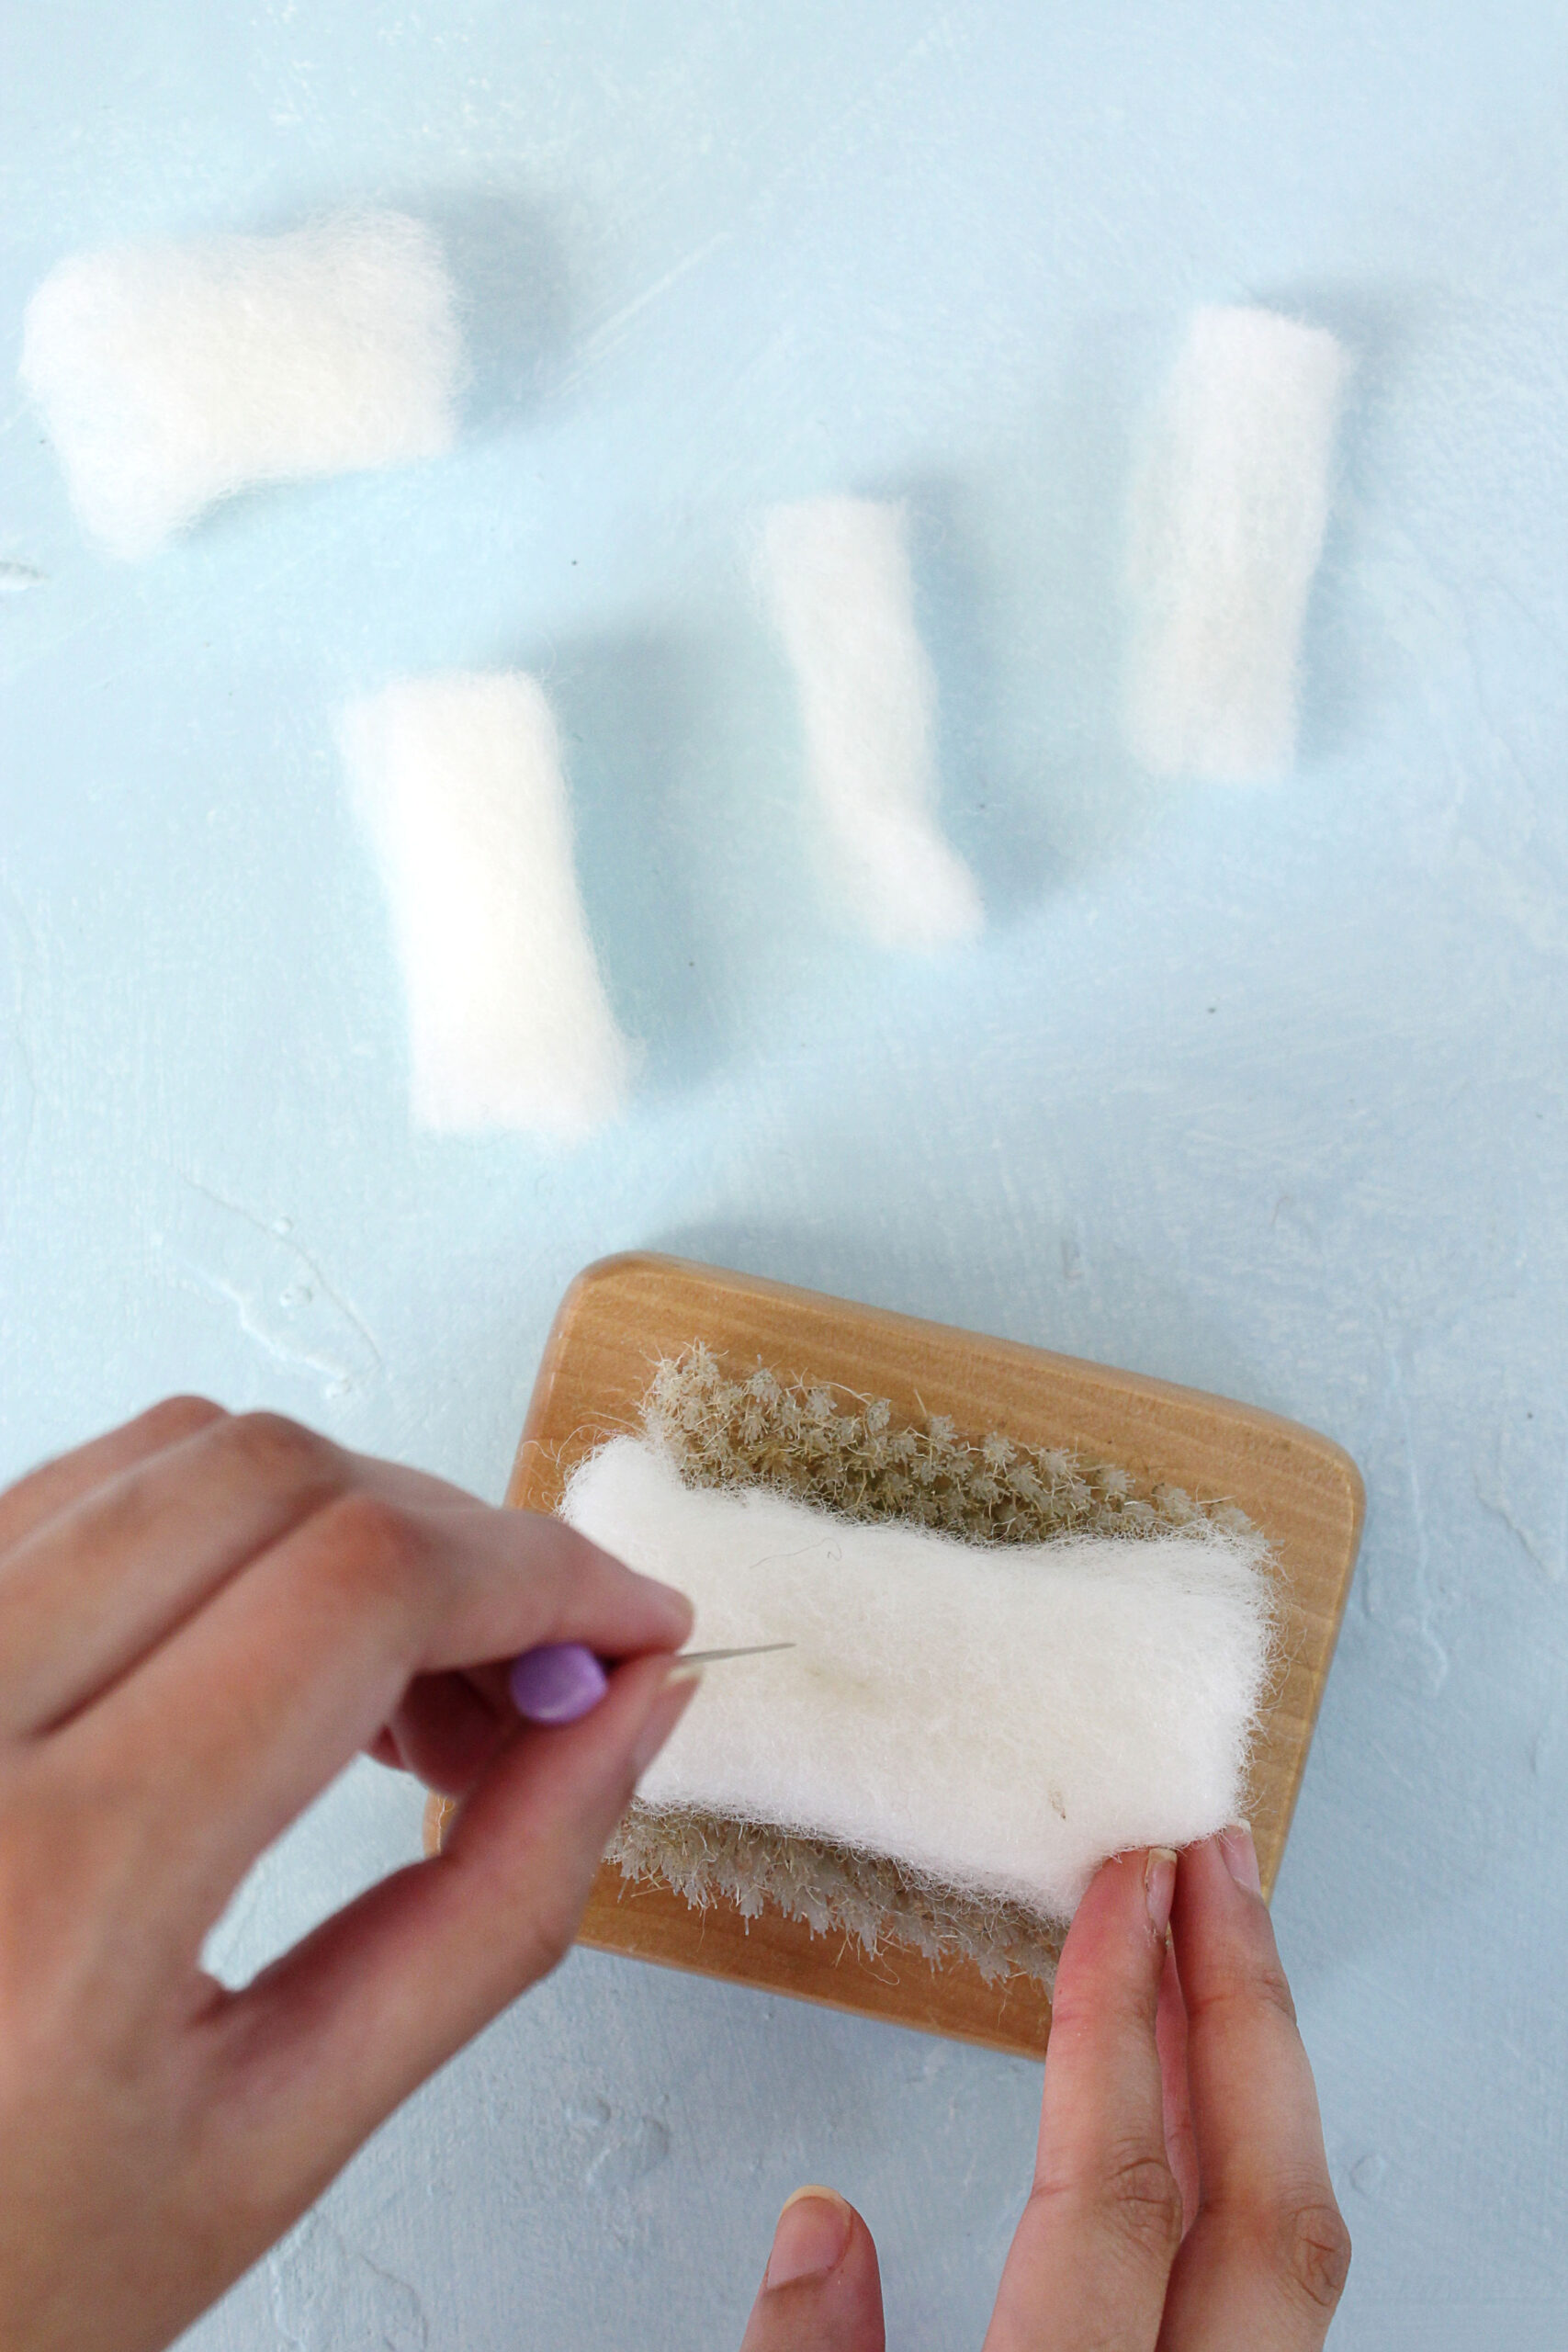
2. Begin to needle felt each of the body parts using the felting mat and needle till they start to take shape. Always be sure your needle is pointing straight down, not pointed on an angle (it can break that way).
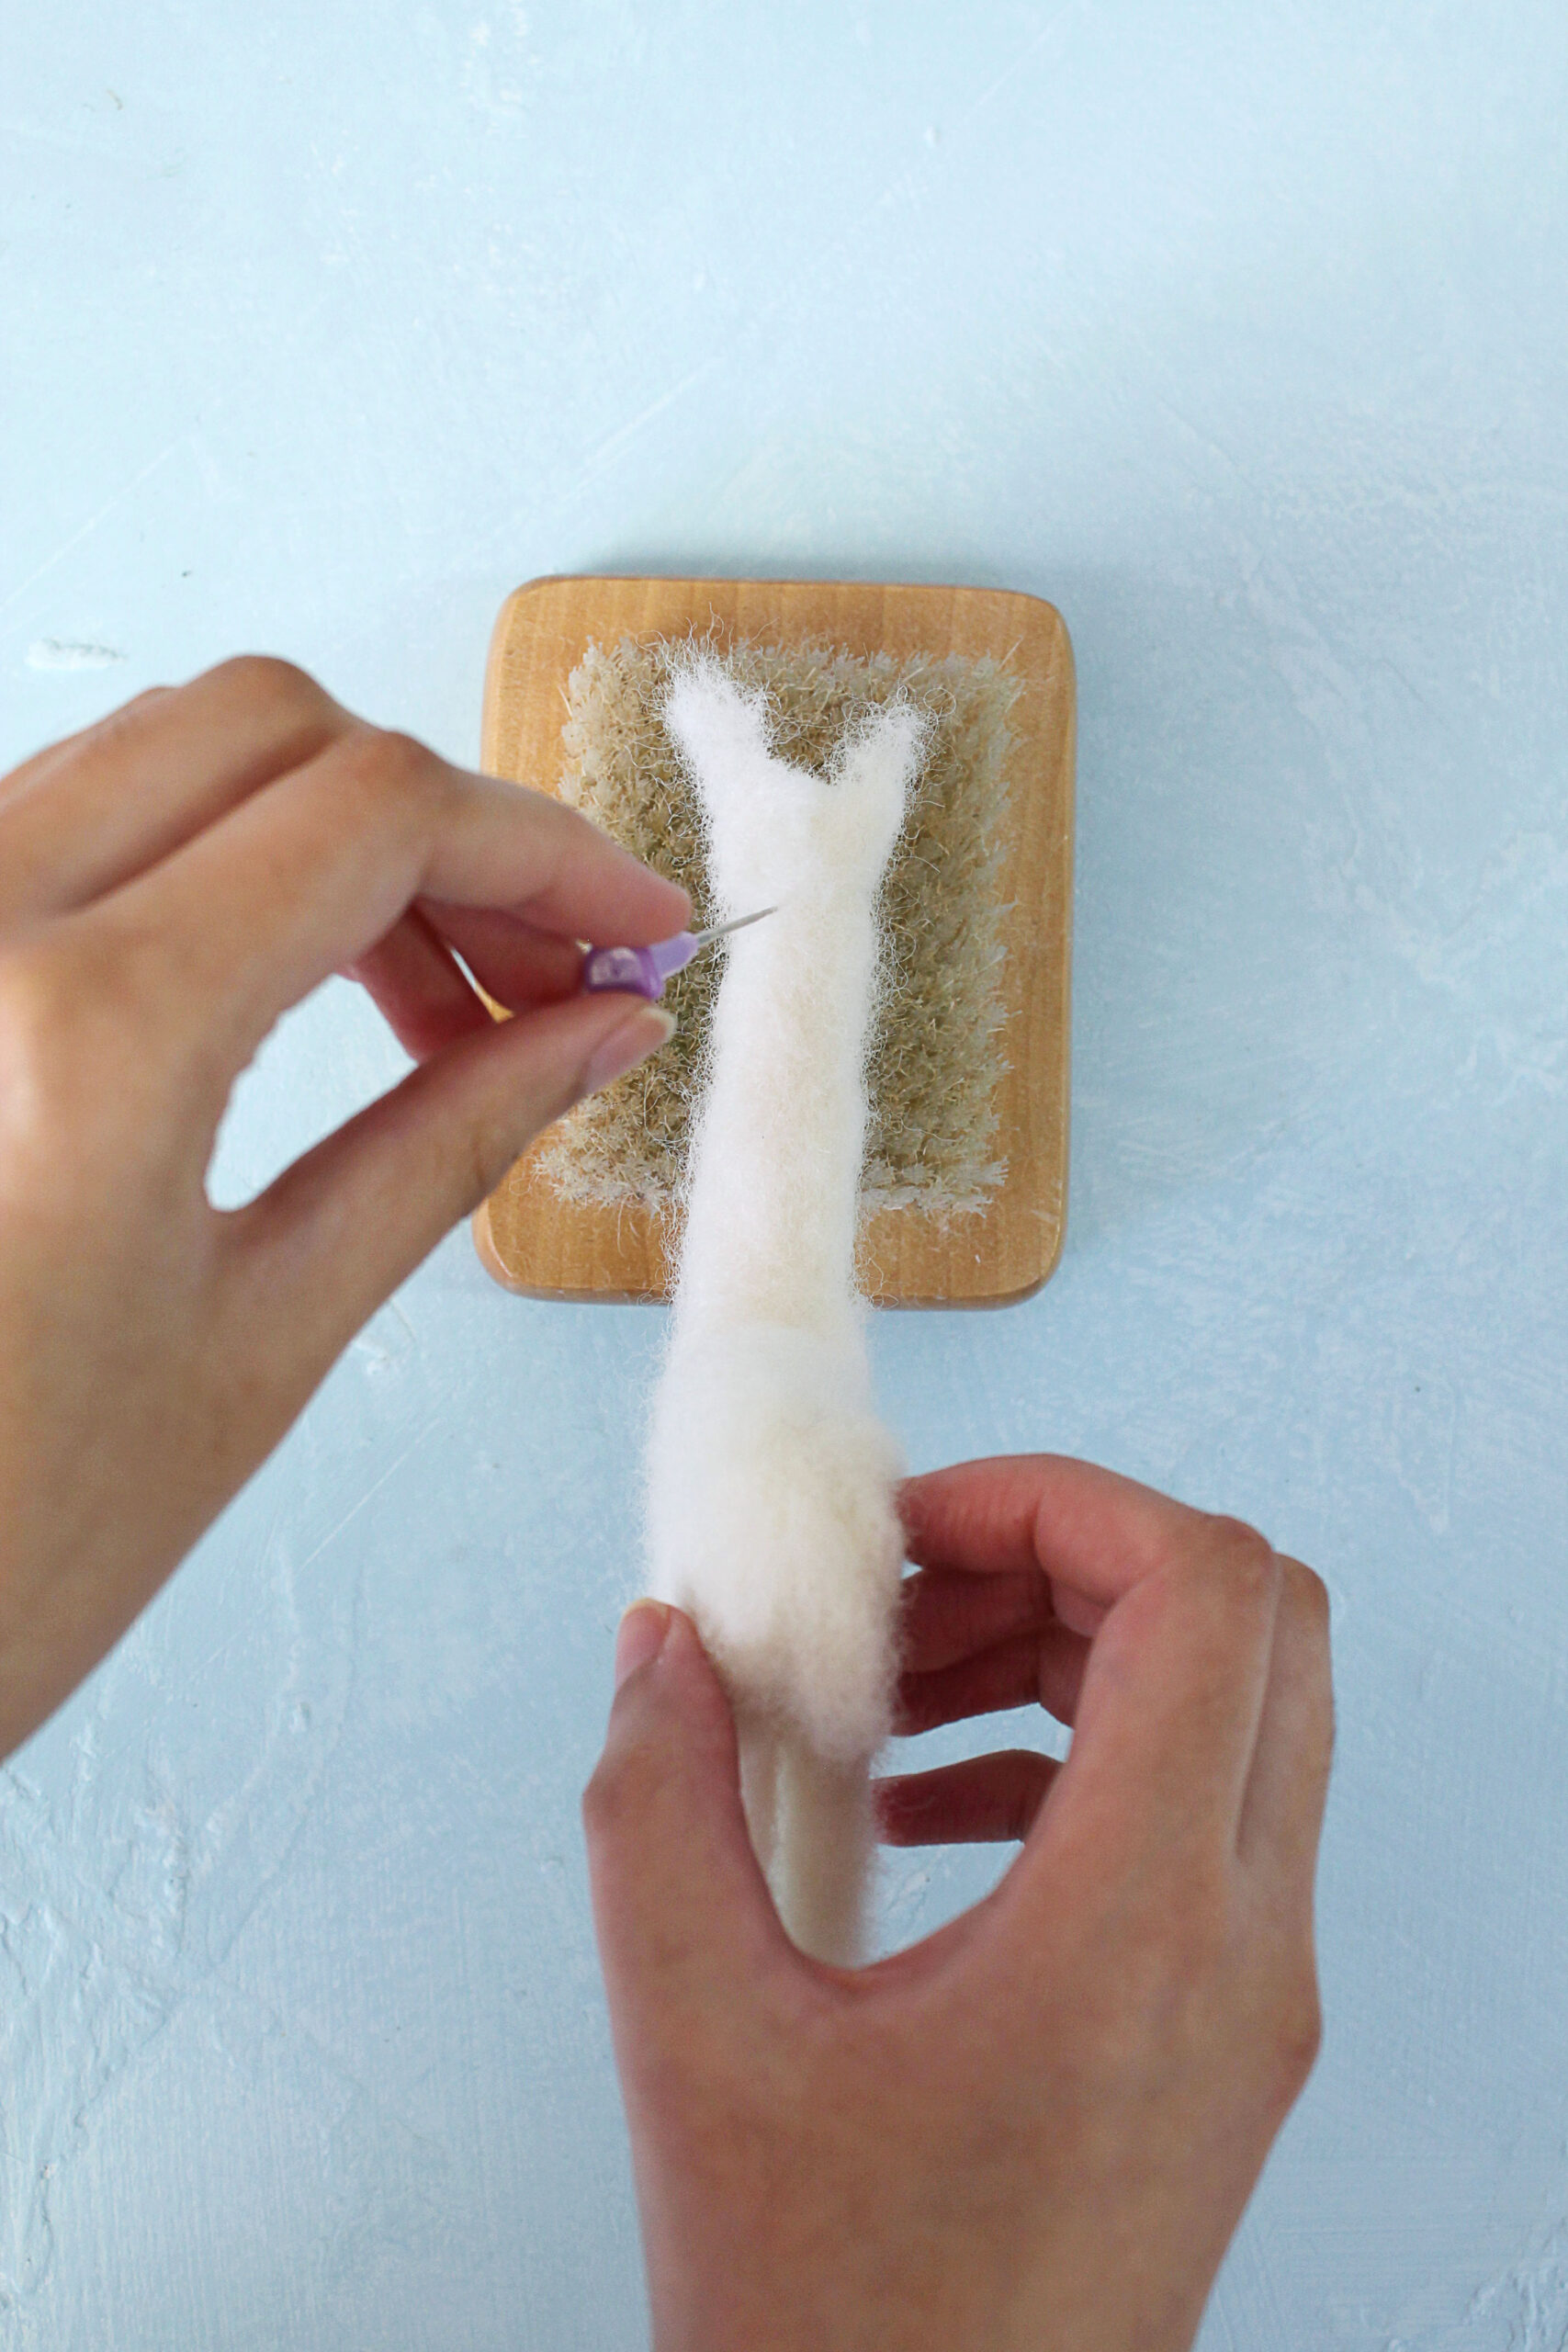
3. Once each of the body parts has been felted, join them together. (This can be a bit tricky requiring you to needle felt at odd angles).
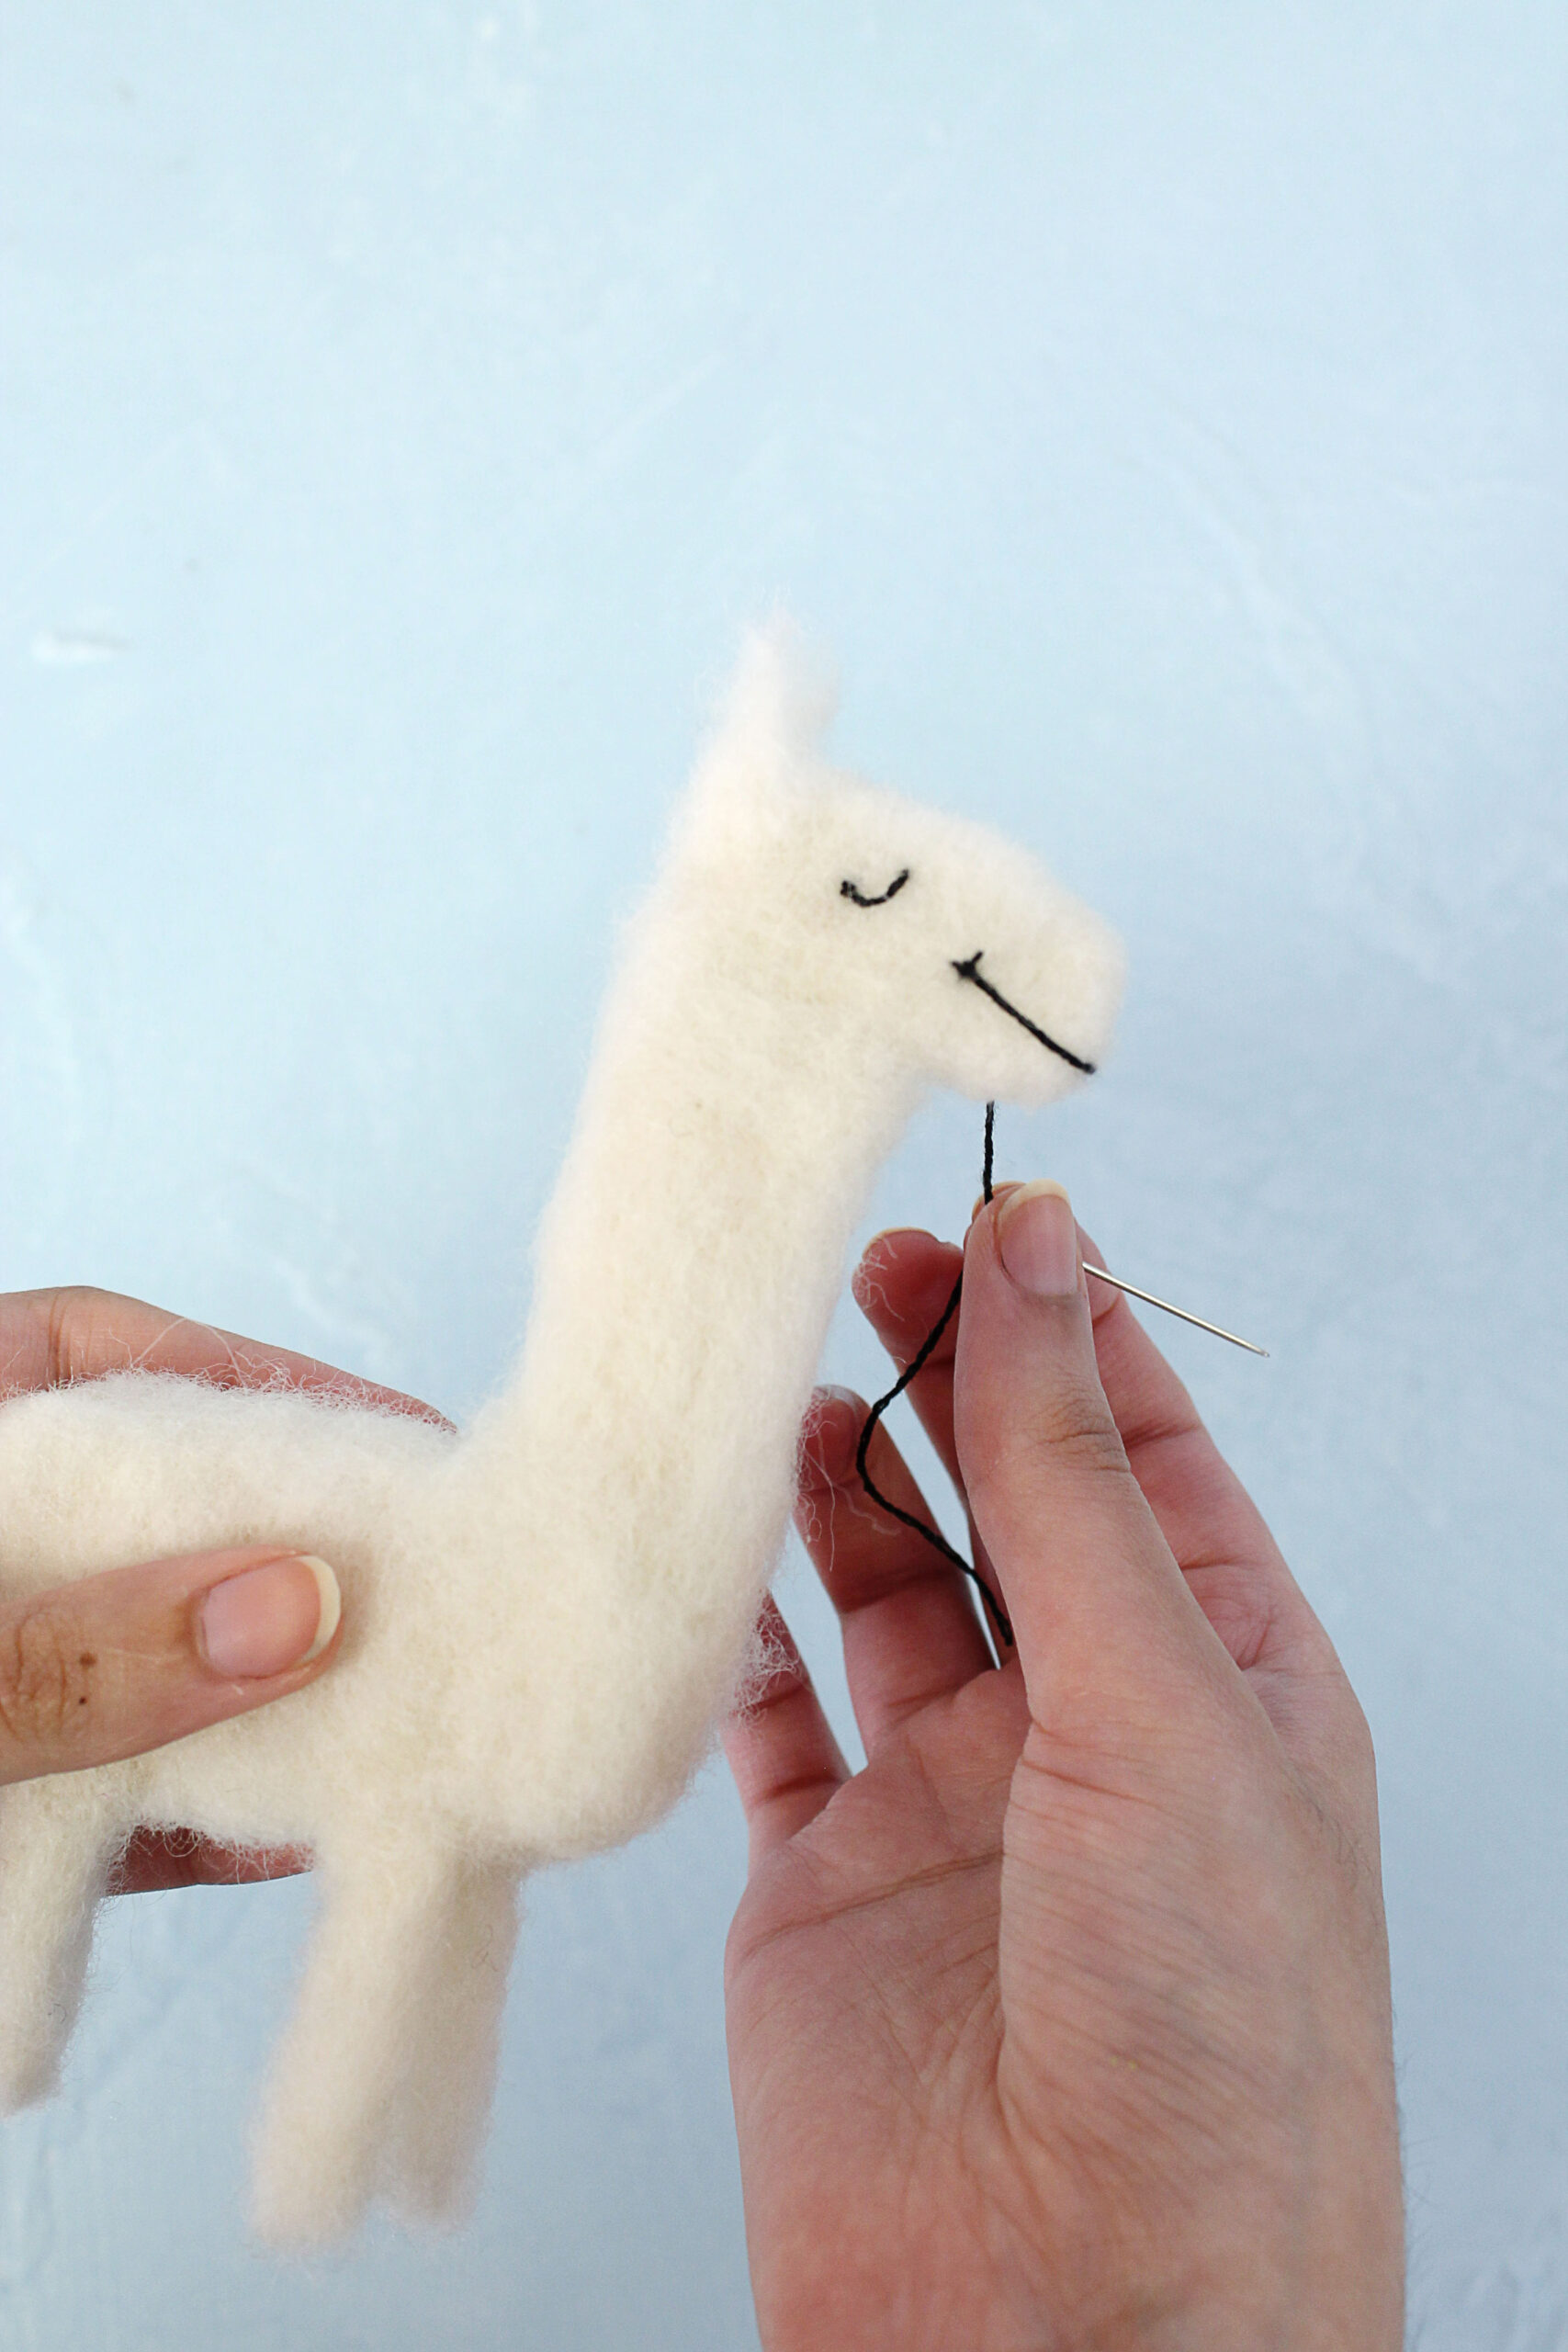

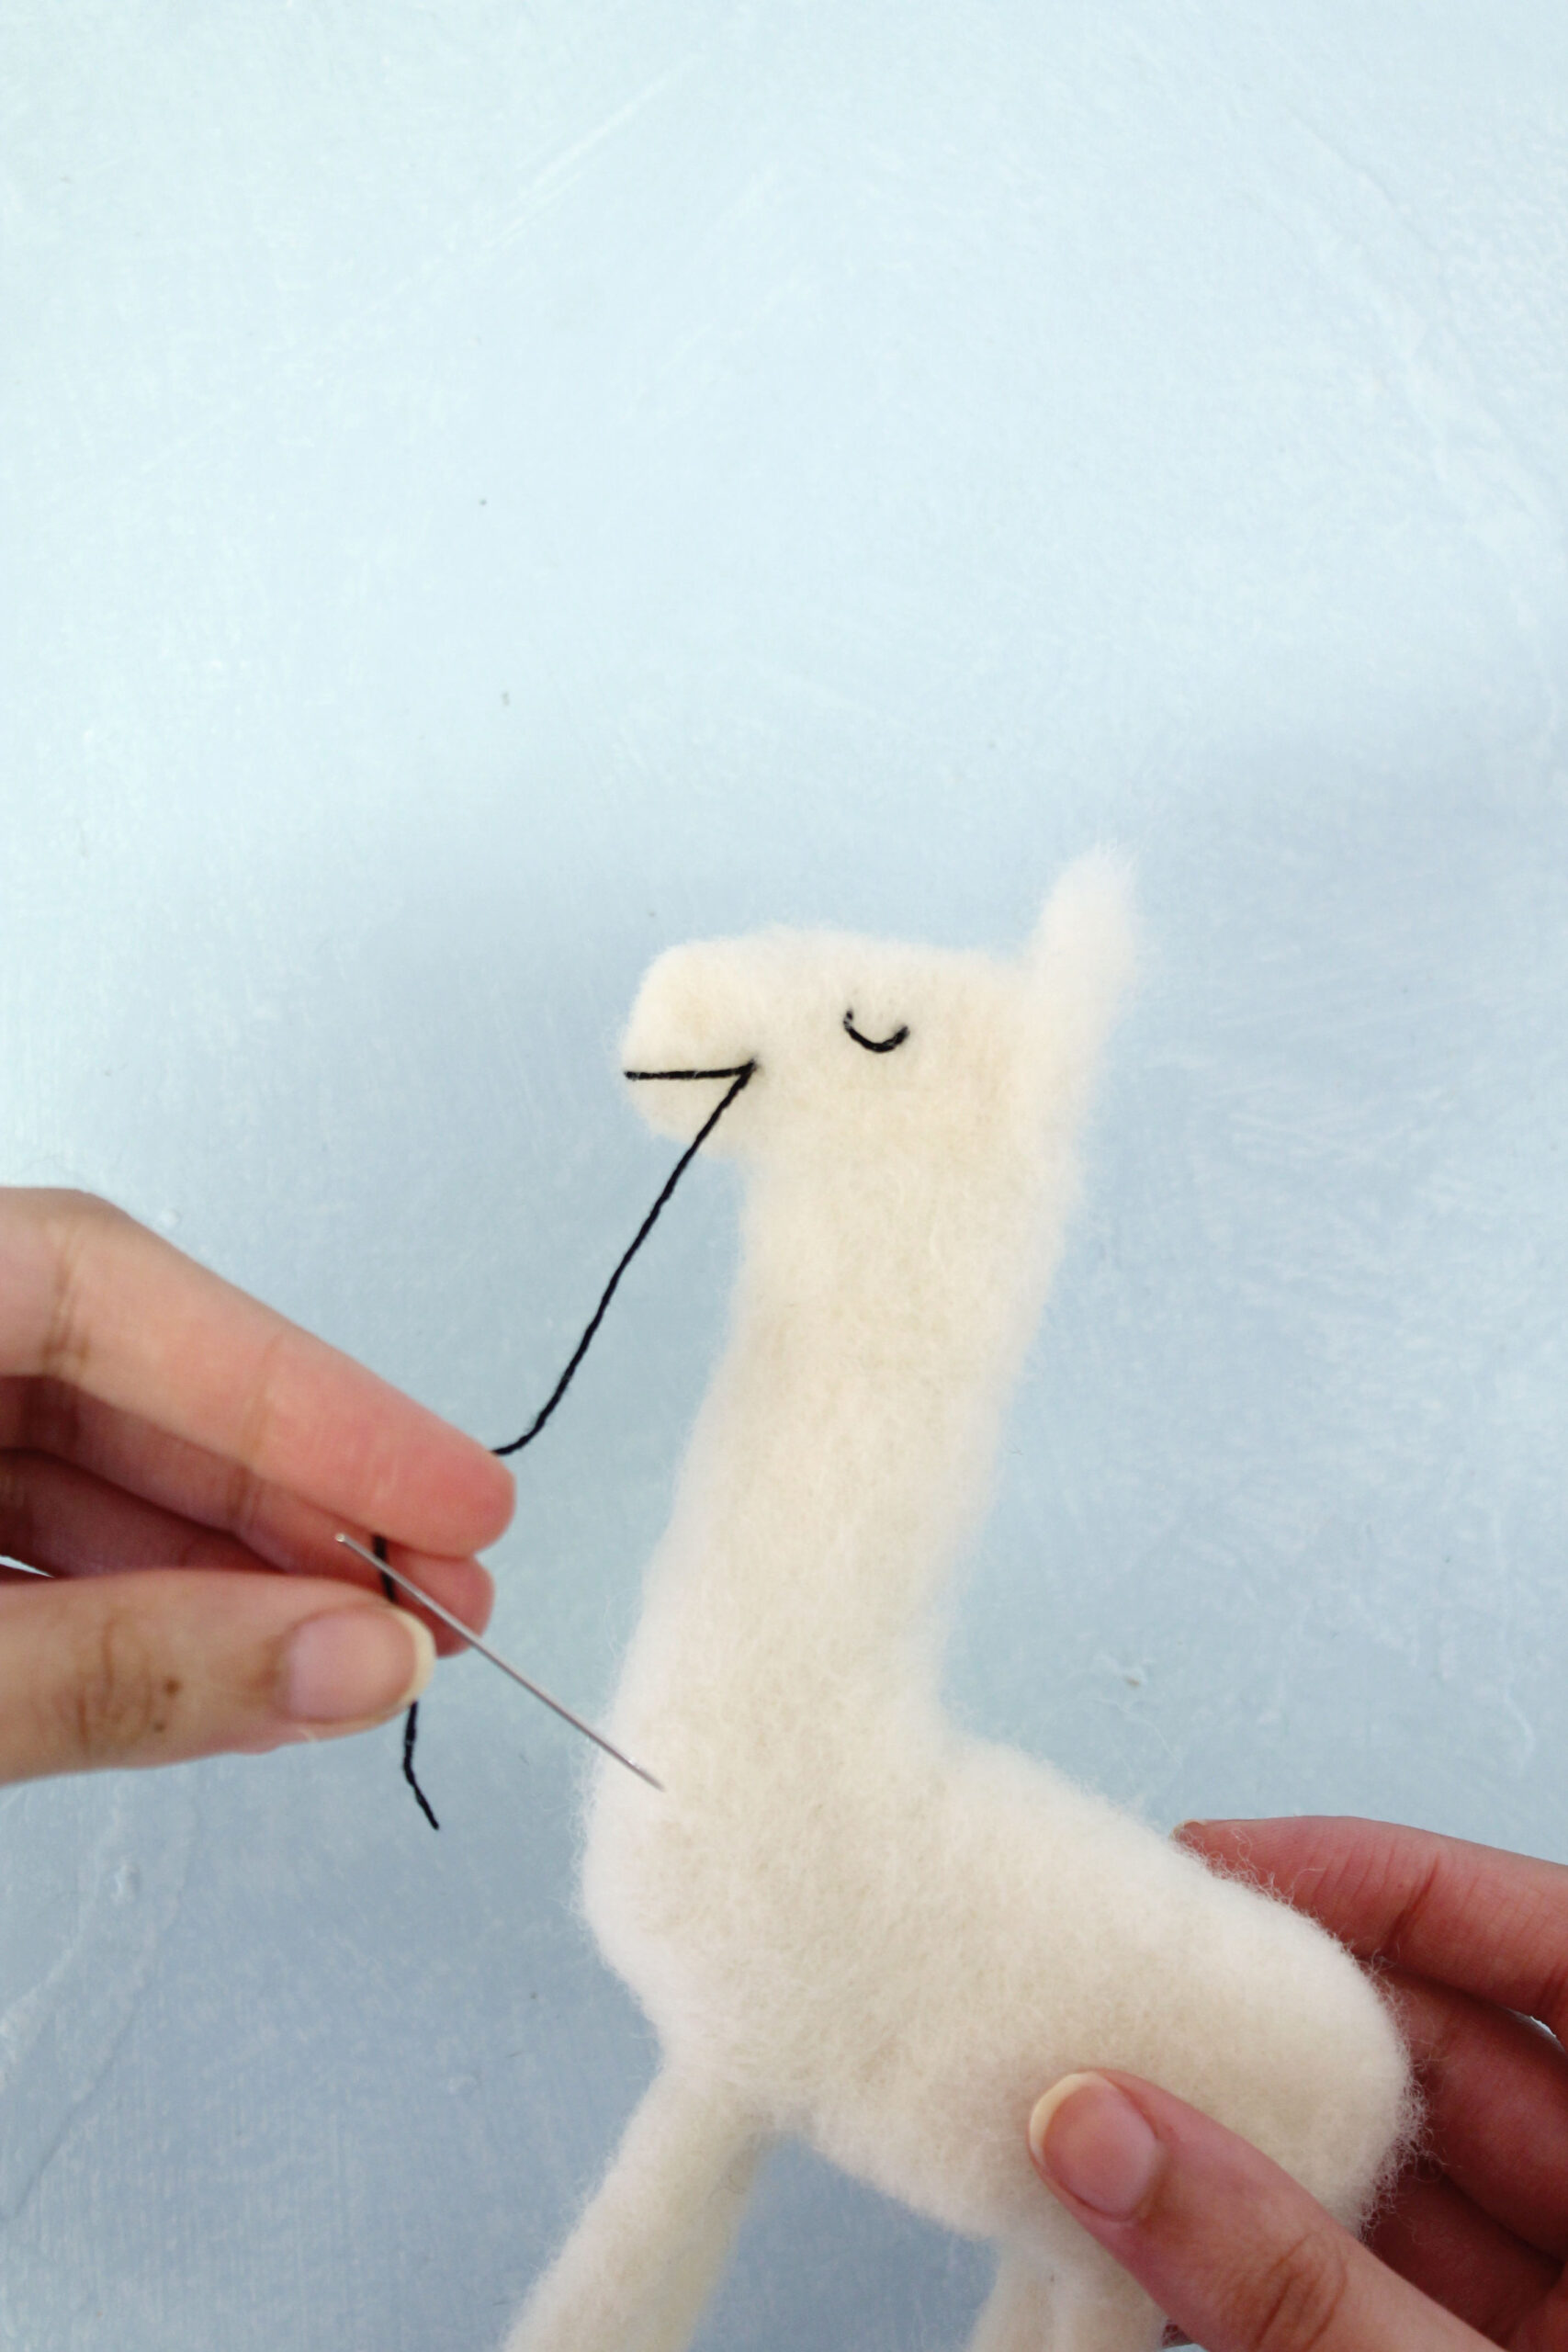
4. To add eyes and a mouth to the llama, thread an embroidery needle with black thread and stitch on.
5. I added more details to the llama as well. A felted light pink roving to the llama as a saddle then secured pieces of ribbon with hot glued to the saddle and also to make a harness.
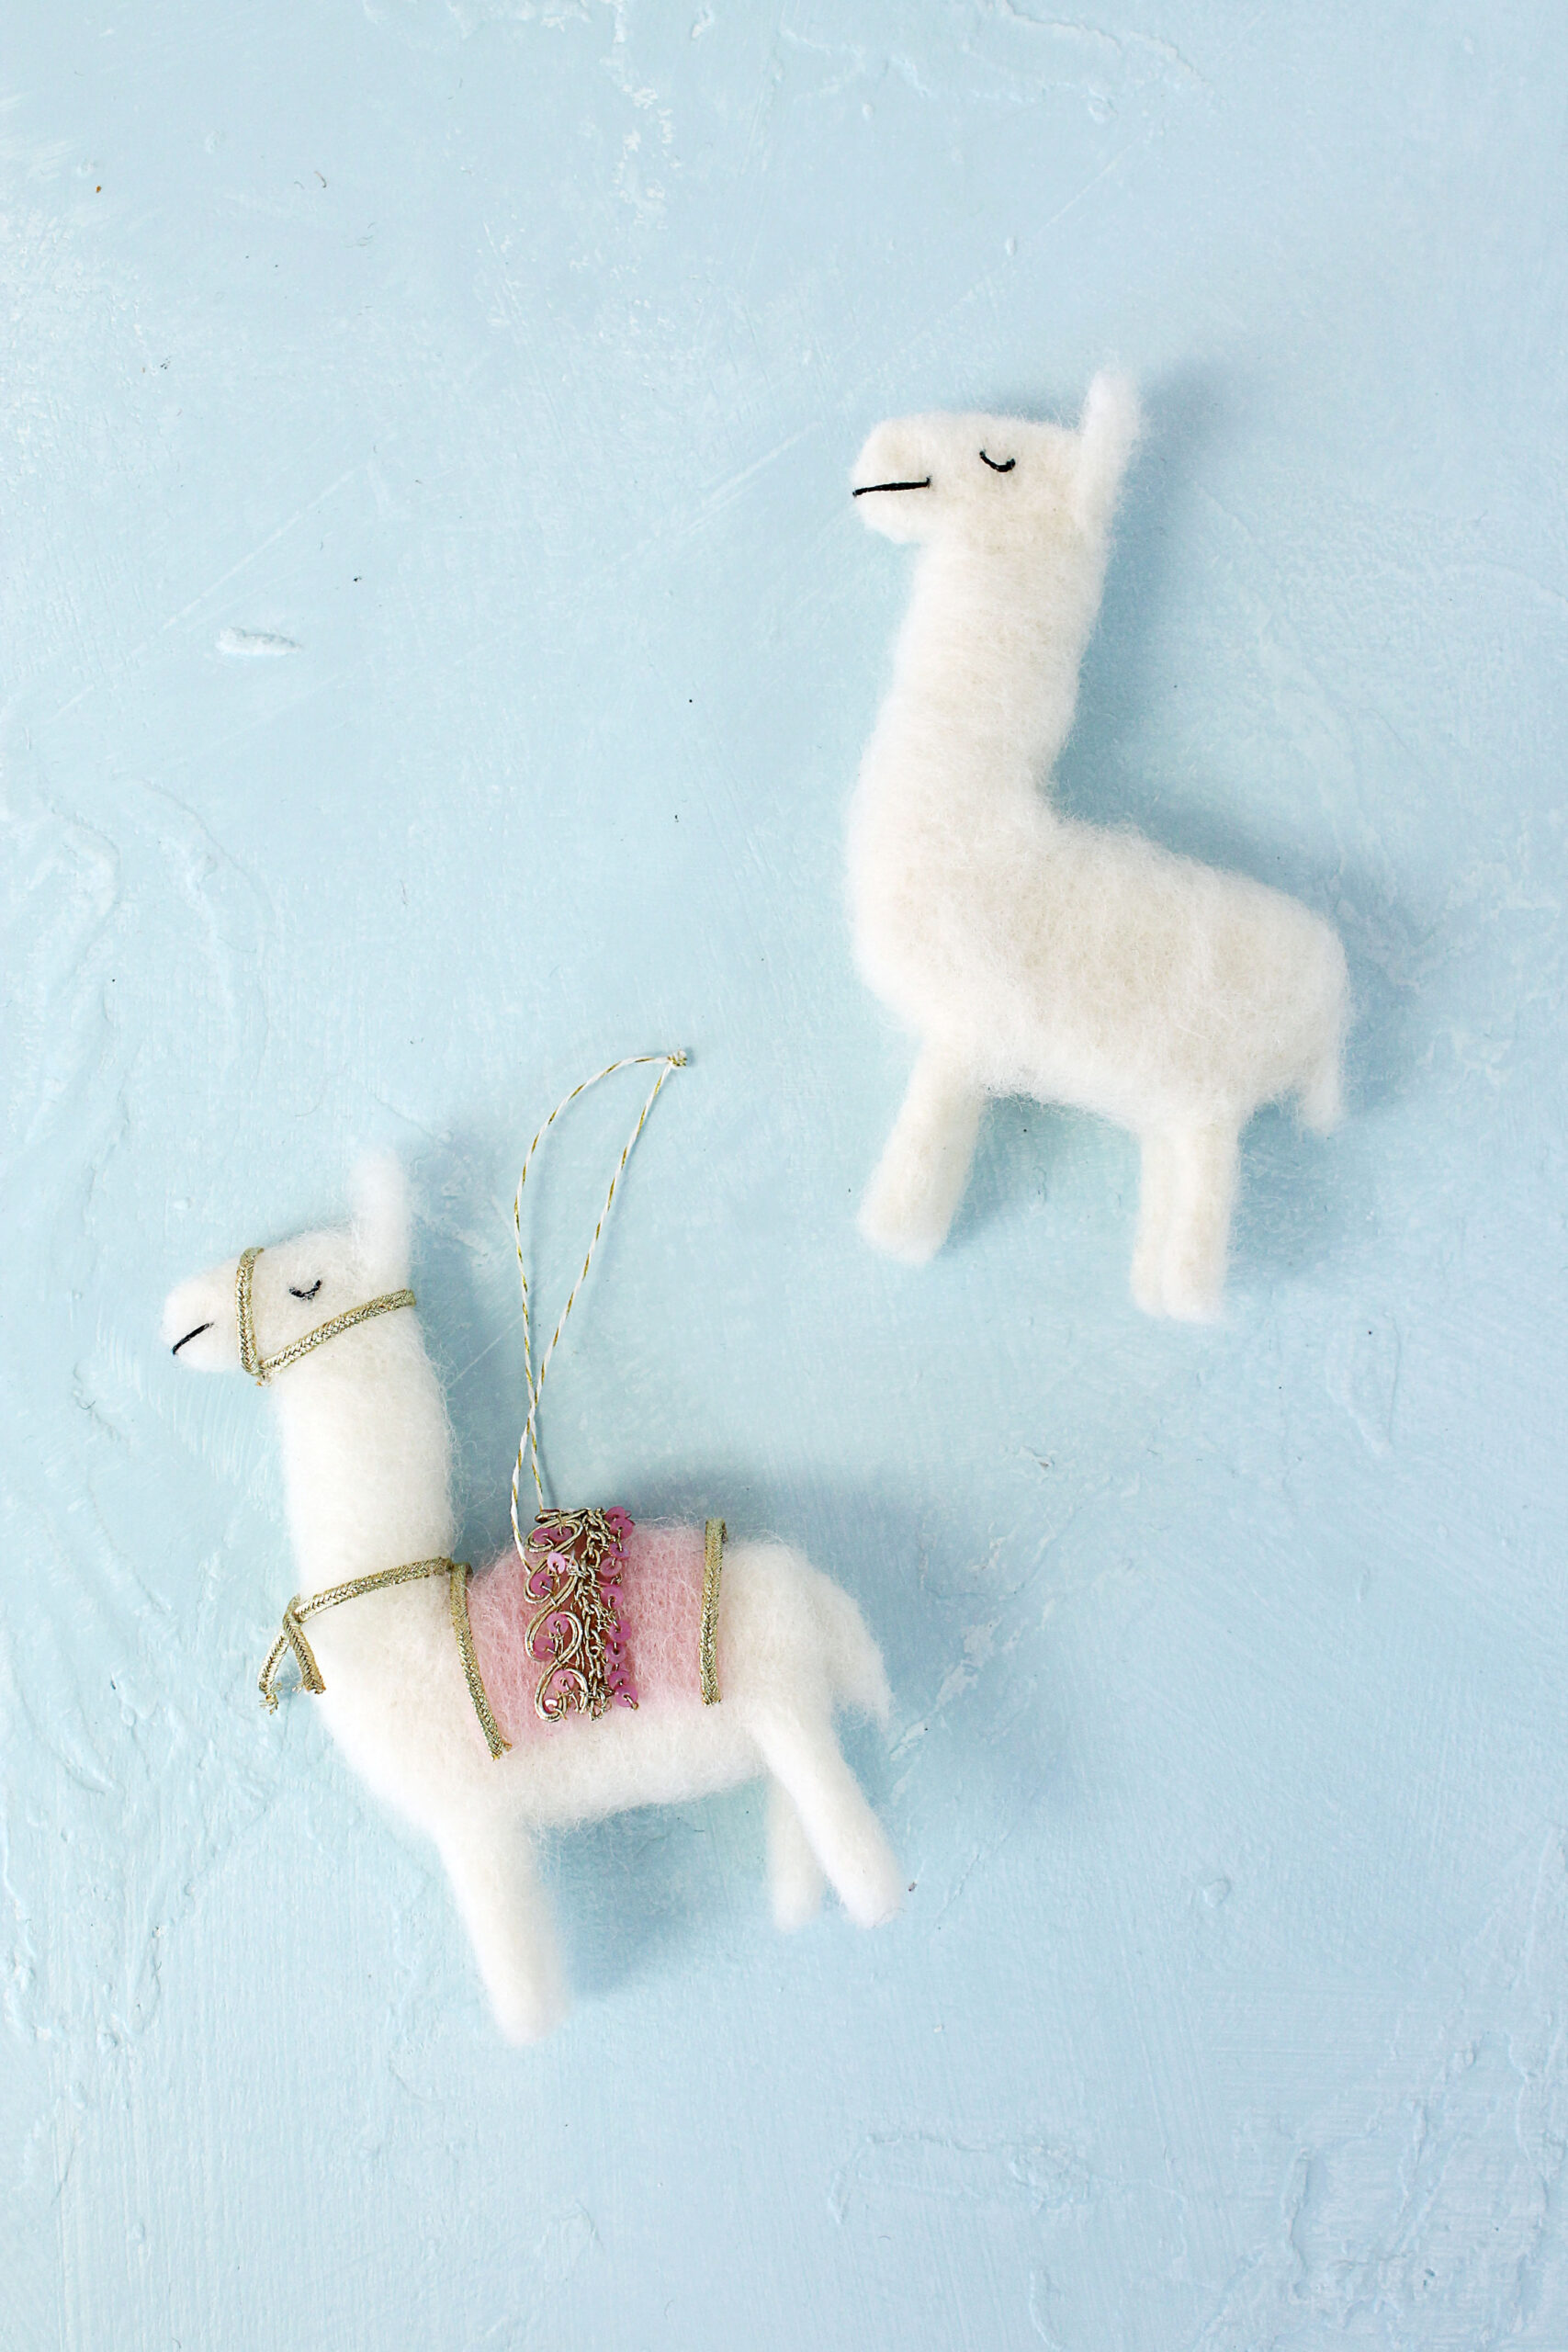
6. Lastly, thread a short piece of cotton cord (I used gold and white) through the top centre of the llama and tie a knot at the top to create a loop. This is how you’ll hang your ornament on your tree.
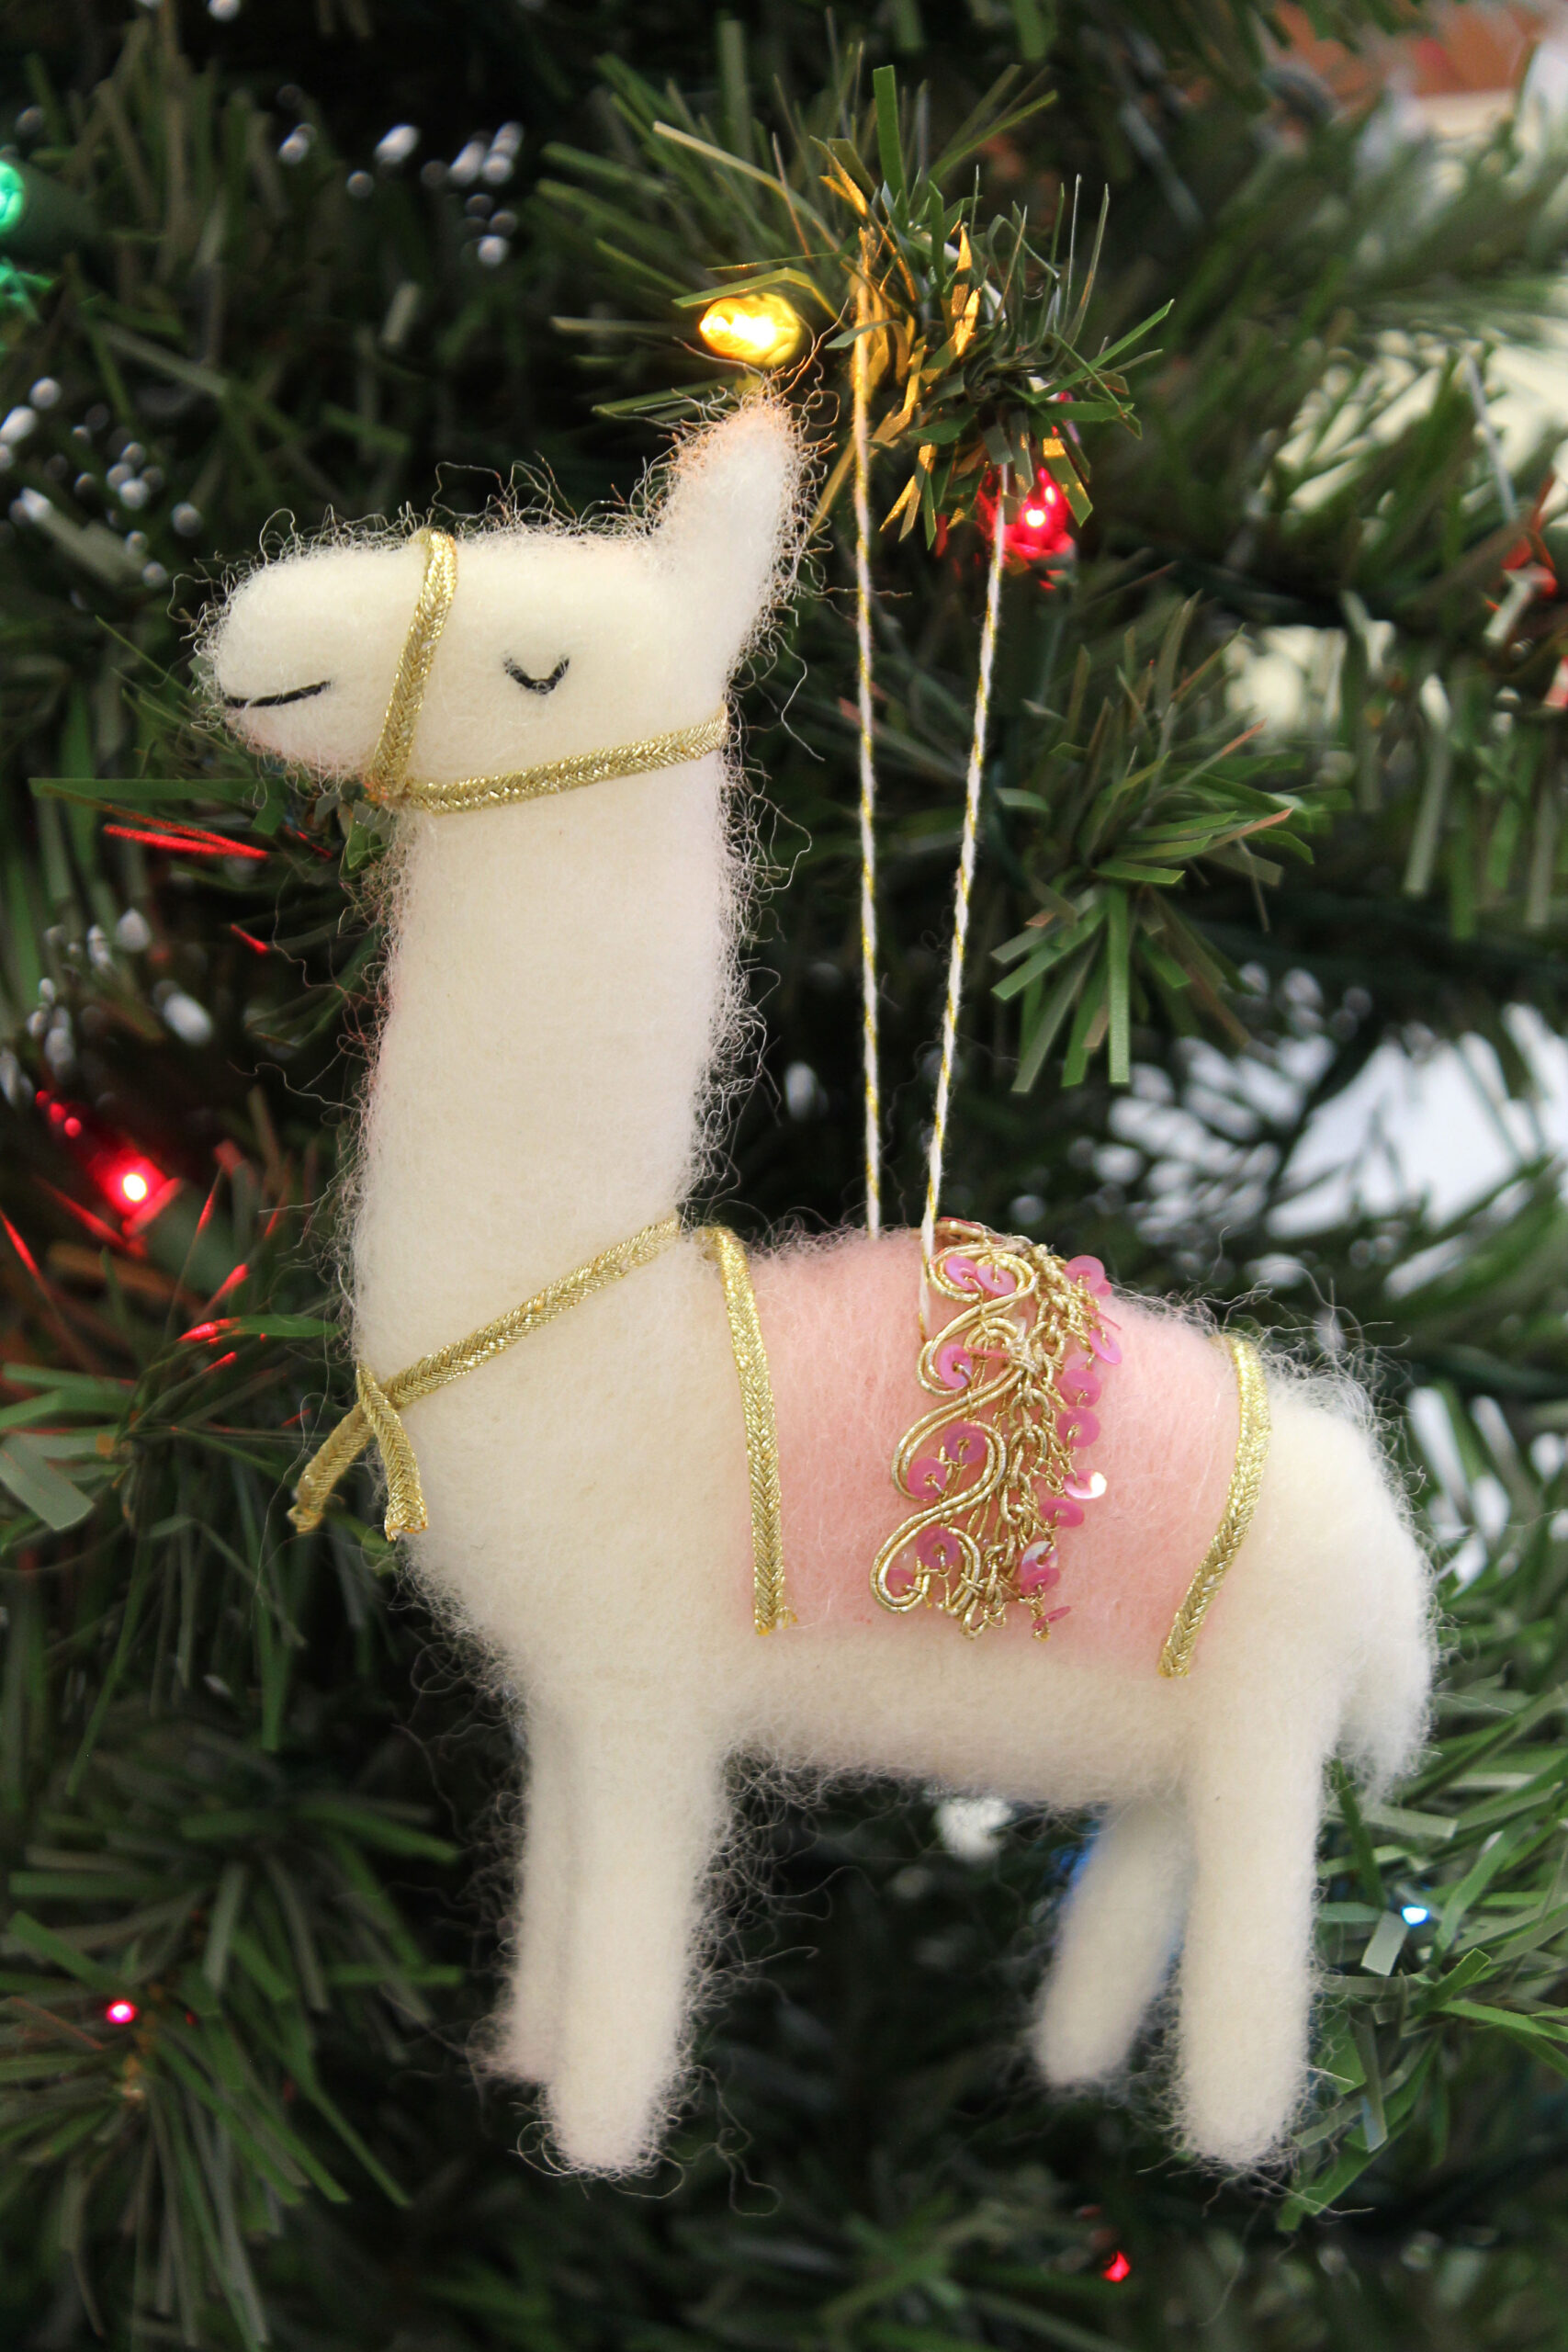
Feliz Navidad!
Looking for more Christmas crafts? Check out all of my cute Christmas crafts here.