We’ve entered the age of self-care and that means more people are seeing the value of relaxing baths over showers so today I’m sharing a DIY for Christmas Bath Fizzies. Not going to lie, baths are insanely helpful if have any type of muscle aches or pains. I didn’t fully realize how helpful epsom salt baths were until I was going for physiotherapy clinic and they strongly recommended it to me for my upper back pain. Honestly with a few sessions of warm baths, my upper back, neck and shoulder pain was significantly reduced!
These Christmas bath fizzies, also known as bath bombs, are made using epsom salt. The choice of essential oil or fragrance oil is up to you but if you’re making these bath bombs with the added benefit of aromatherapy, lavender is the go-to essential oil for relaxation. I personally like lavender for night time baths because it helps with sleep too.
If you’re thinking about making handmade gifts this year, red and green Christmas bath fizzies should be your go-to gift for anyone that’s complained of body aches and pains and you’re sure that they have a bathtub. Even if they’re not a bath person, it doesn’t take long for people to become one once they experience reduced pain.
Materials
- Bath bomb base (alternatively you can purchase baking soda, corn starch and citric acid. If you opt for that route, make the baking soda/ corn starch blend by mixing 1 cup of baking soda with ½ cup of corn starch.)
- Epsom salt
- Red and green liquid dye specially designed for soaps and body use
- Coconut oil
- Essential oil or fragrance oil of your choice (they’re not the same!)
- Water
- Measuring cups
- Measuring spoons
- 3 mixing bowls
- 2 small jars
- 3 spoons
- Medium sized plastic ornament that opens from the side
- Ornament cap

How to Make Christmas Bath Fizzies:

Mix 1 cup of the baking soda and corn starch blend, with ½ cup of Epsom salt and ¼ cup of citric acid in a bowl.

Divide the dry ingredients into 3 parts and set aside.

In a small jar, mix 1 ¼ teaspoon coconut oil, 1 teaspoon water and a few drops of the essential oil (or fragrance oil if using).

Mix 1/3 of the liquid mixture into one of the bowl of the dry mixture. This will be the white mixture. Gradually add small amounts of water to the mixture till the mixture can be formed into a ball.
*Take some of the mixture in your hand and see if you can mold it into a ball. If it’s too powdery, add a bit more water. If it’s fizzing too much or sticks to your hand a lot, you’ve added too much water so add bit more of the dry ingredient mix.*

Now, divide the remaining wet mixture into small jars. Add red liquid dye to one of your jars and green to the other. Add the wet mixture to the dry mixture (green wet mix into one bowl and red wet mix into the other bowl of dry ingredients.) Mix for consistency adding water as needed.
*If you’re unsure about the consistency, try packing a bit of the mixture into the plastic ornament we’ll be using as a mold. If it doesn’t pack down, it’s too dry and the mixture needs more water. If it packs down but can’t be tapped out of the mold, the mixture is too wet and needs to be balanced out with dry ingredients.*

Once you have 3 different colored mixtures ready, open the plastic ornament which we’ll be using as a mold. Using a spoon, fill up the ornaments alternating between the colors to create a random pattern. Be sure to overfill the ornaments for the DIY to work successfully. Repeat with the other half of the ornament.

With both halves of the ornament slightly overfilled, join the two halves together and push down to fuse the ornament. Push down really really hard! (But not so much as to crack the plastic ornaments.)

In a few minutes, the bath bomb will start expanding out of it’s mold which will indicate that it’s time to now take the mold off. If it doesn’t, you’ll need to do some trouble shooting.
Can the two halves be removed from the molds on their own? If they can, remove the two halves separately, add a bit of water to the flat end and fuse the two halves by hand. If the halves can’t be removed from the mold at all, the mixture is too wet and you’ll need to remove it from the molds and add in more dry mix.

Once you’ve removed the bath bomb from the mold, place it on a ceramic plate and push the ornament cap on it. Let it dry overnight before handling.
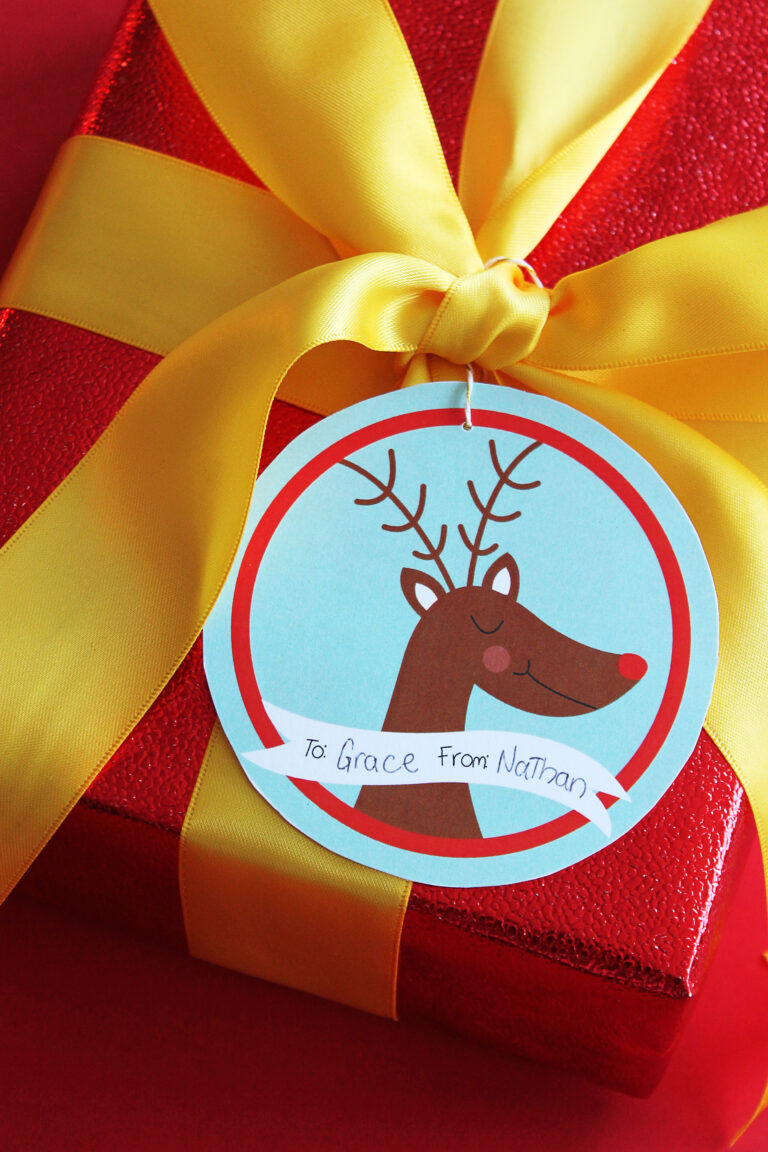
After the bath bomb has dried and hardened, you are ready to gift! I think packaging the bath bomb in a clear acrylic box is really elegant and helps protect the bath bomb from breaking. With clear packaging, people know that it’s a fragile gift item and to handle it with care, particularly if you’re gifting this at a party where the host might be putting gifts into a pile.
This recipe makes 1 bathbomb in a 3” sized Christmas ornament mold, with some mixture remaining. Use the leftover mixture by sprinkling in the tub or placing it in an ice cube mold to make a few small bath cubes. You could also use a melon baller to make a few small rounds.
Did you make this DIY of ours? We’d love to see it! Share with us on Instagram or Facebook @helloholydays
If you make this DIY and share photos of your version on your own blog, please include a link back to this page as your source of inspiration and tag @helloholydays on all social media.
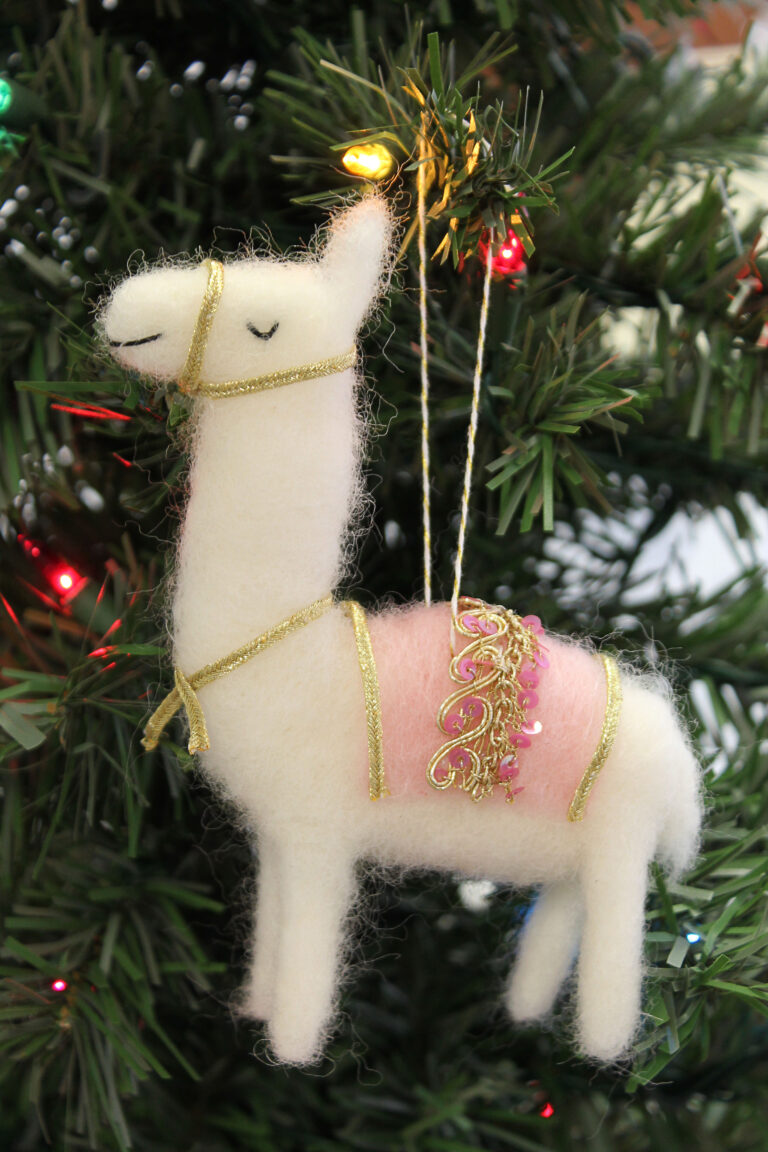
Want more handmade Christmas gift ideas? Check out all my Christmas craft ideas here.
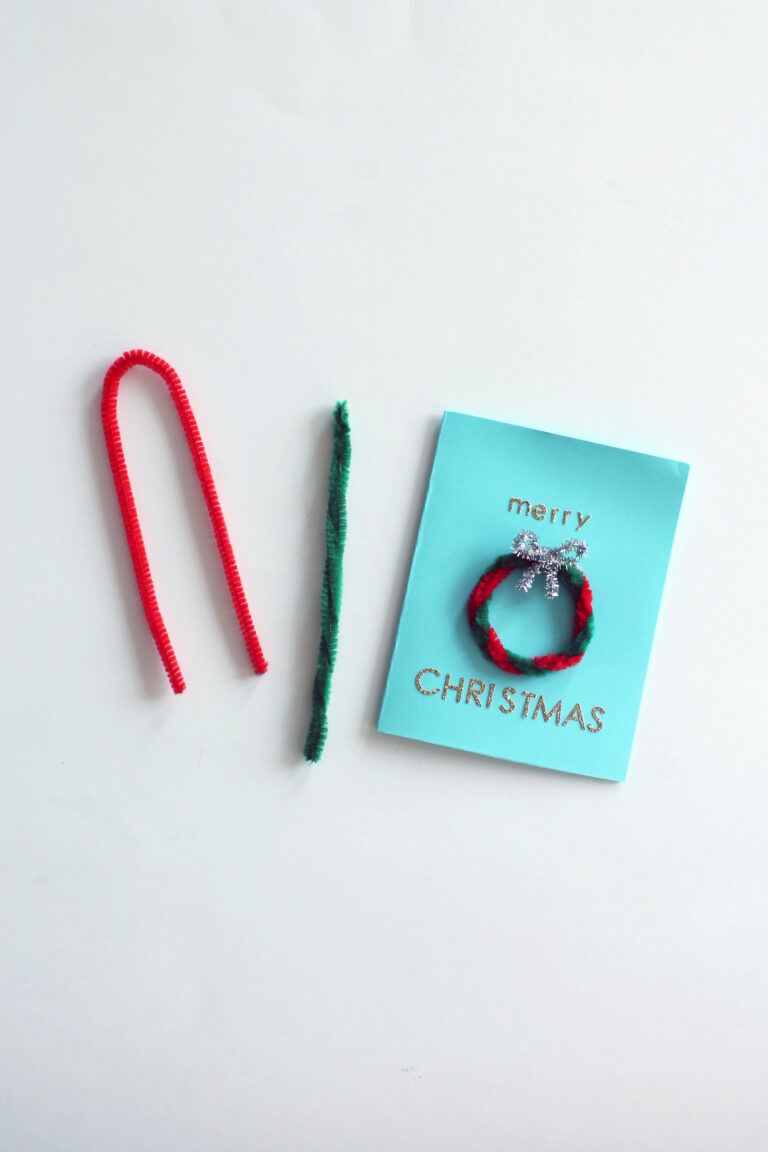
P.S don’t forget to add a card to your gift. Shop my Christmas cards online.