On my list of places to visit, Scandinavia is towards the top. I’ve never been there but I think I would enjoy it a lot for their strong sense of functional design and their desserts. I’m going to be honest – I don’t know too much about the region except what I came to learn of it through my friend, Paul, of the former magazine, Sweet Paul Magazine. In 2017, I made a bunch of Scandi Christmas Decorations for his Sweet Paul blog and today I’m resharing one of those crafts. It’s so simple yet beautiful and I really hope it inspires you! Plus, what I really like about it is that if you’re crafty and like to try different things, you get to try a new skill: wood burning!
This post contains affiliate links that help support this blog at no extra cost to you.
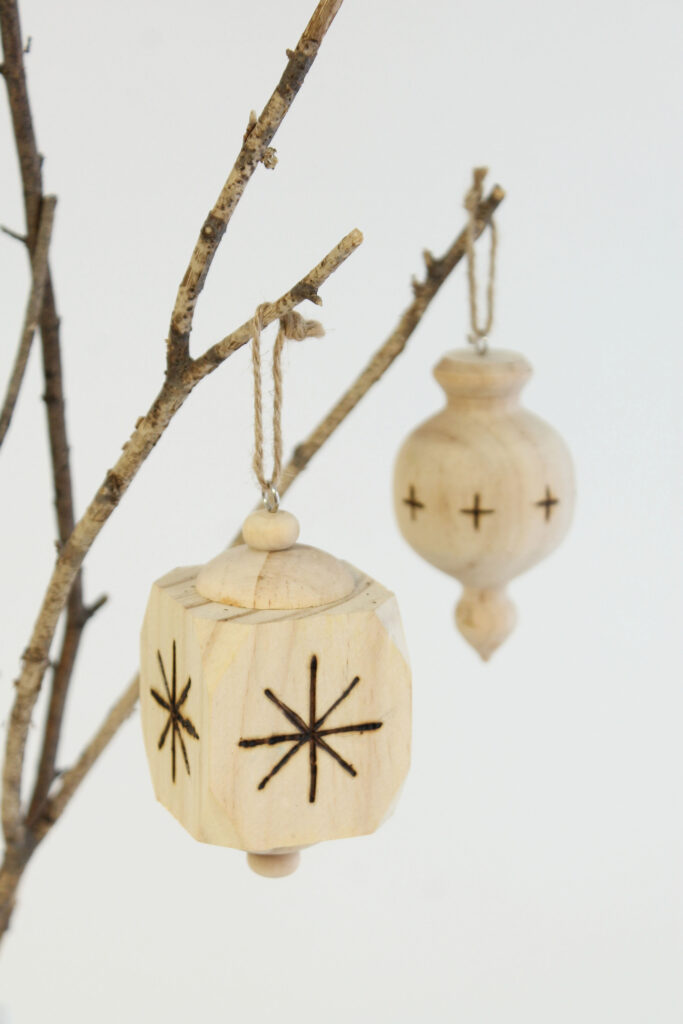
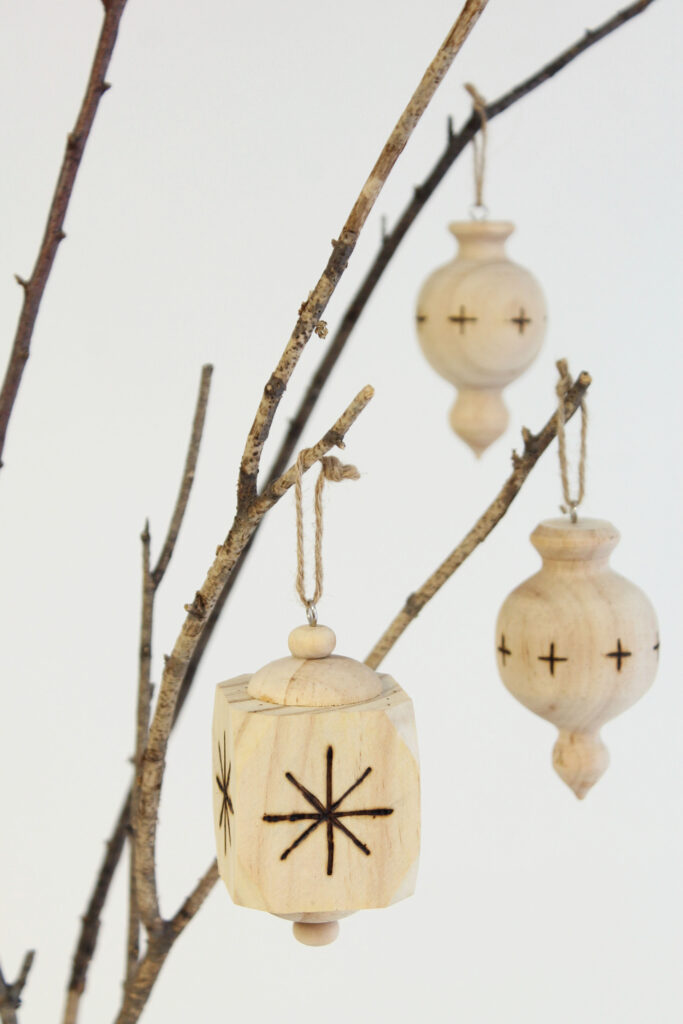
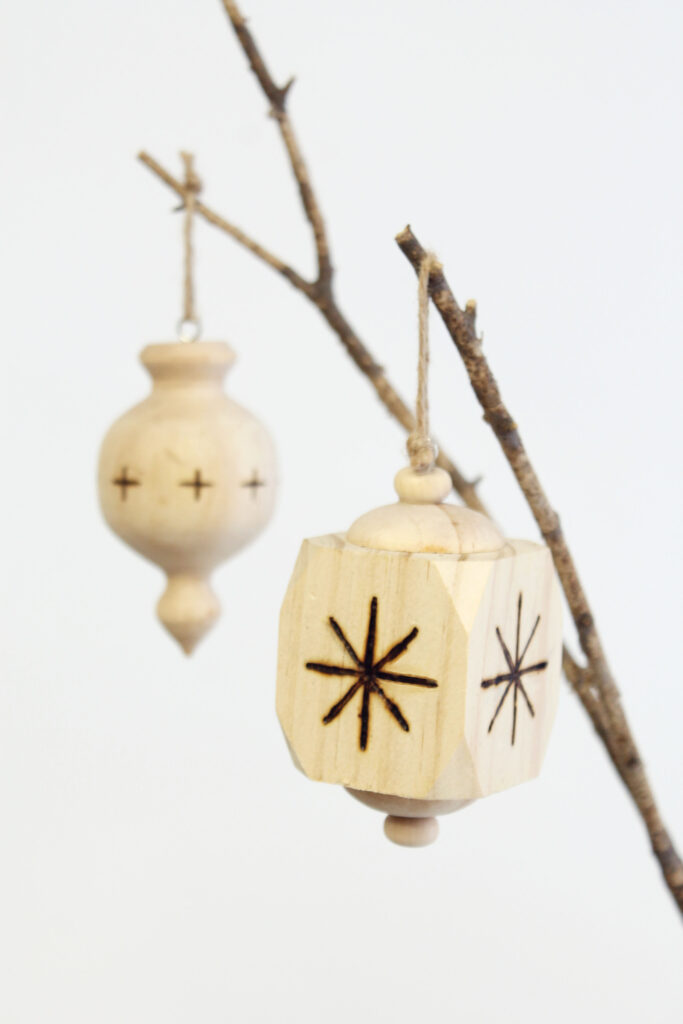
If you have a look at Scandi Christmas decorations they let natural materials take centre stage – particularly wood. Light colored woods like birch shine in Scandi design and that’s the inspiration behind today’s Christmas craft. I took inexpensive wooden ornaments from Michael’s Stores and with a wood-burning tool I made a few marks.
Keeping with Scandinaivan minimalism, I made asterisks and plus signs on the ornaments with the wood burning tool. For this photo, I scavenged fallen branches from the yard, placed them in a white vase and hung the ornaments on them. It gives off a very cool wintery vibe. You could also hang pinecones alongside these ornaments for a natural and inexpensive centrepiece.
If you’re on a budget or just prefer to give handmade gifts at Christmas, these wood-burned ornaments take little time to make.
DIY Scandi Christmas Decorations: Wood Burned Ornaments
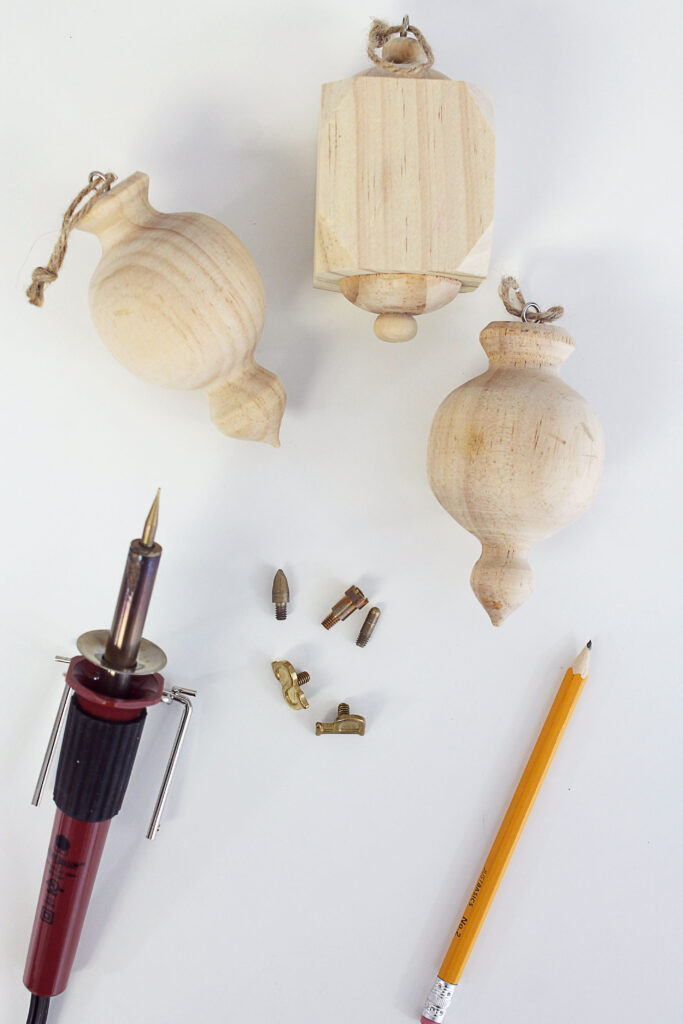
Materials
- Wooden ornaments
- Walnut Hollow Basic Wood Burning Tool Kit
- Walnut Hollow Wood Burning Alphabet Stamps
- Round nose pliers
- Metal dish
- Pencil
Steps
- Use a pencil to sketch out simple designs on your wooden ornaments. (I went with asterisks and plus signs).
- Go over the pencil lines with a wood burning tool.
- Hang the ornaments or wrap them as gifts.
Scandi Christmas Decorations Wood Burning (Pyrography) Tips:
If this is your first time wood burning, here are some tips to help you get started.
A wood burning tool often comes with a pack of points. These are like nibs on a calligraphy pen. Different points can help you create different lines and dots. You can also purchase metal alphabet stamps for your wood burning tool. This makes it easy to wood burn initials or words onto your ornaments for a more personalized touch.
Once you’ve heated up the tool, do not use your hands to change the points. Instead, use round nose pliers. Place the hot point in a metal dish after use.
Safety is really important when wood burning. Always be sure to use the stand that accompanies your wood burning tool. Once you’ve plugged in your tool, it’s a good idea to securely tape down the tool’s wires onto your worktable with masking tape for precaution.
Thoughtful Gifting
Handmade gifts are so special because they’re from the heart, express your unique creativity and can help you to stick to a budget if you have a lot of people to gift. I love how these ornaments take inspiration from nature. I think these would make a beautiful gift for the wanderer – someone who loves to go on hikes, forest bathe and explore nature.
To really elevate the gifting experience, pack the ornaments in a natural, kraft paper box with eco-friendly paper shreds. For ribbon, consider raffia or jute and top it off with foliage or even things like dried orange slices or cinnamon sticks.
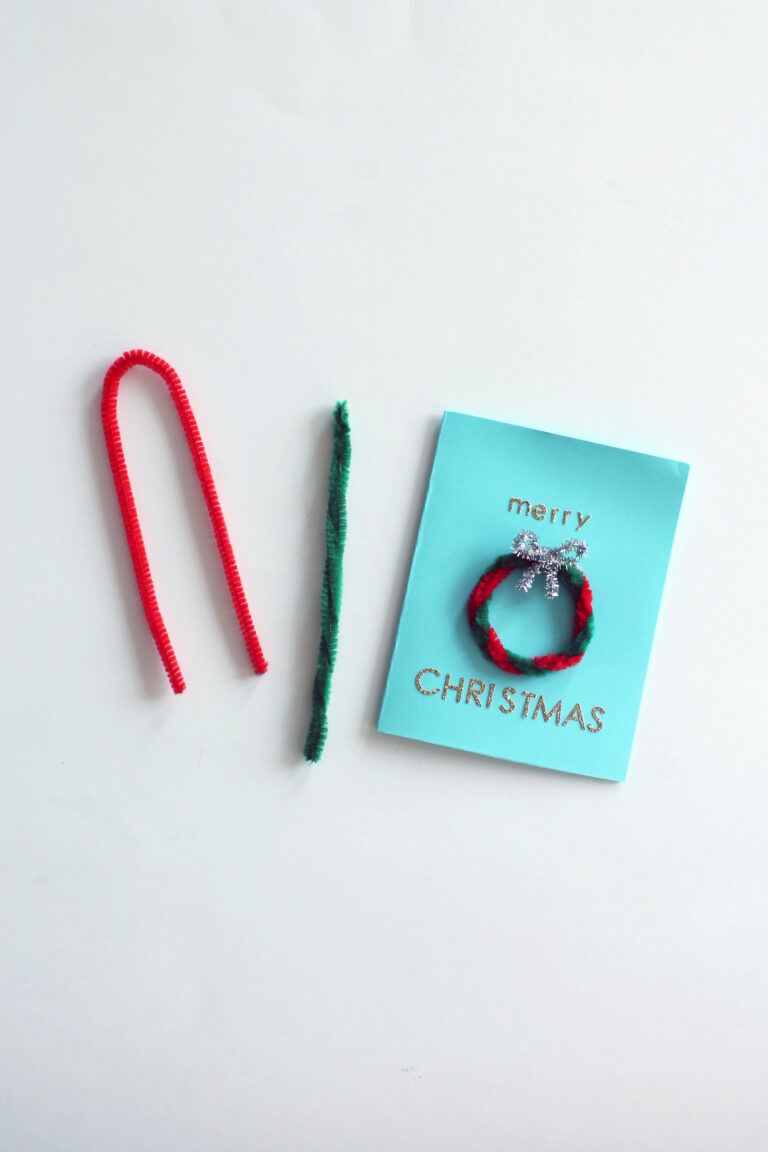
Don’t forget to add a Christmas card! Browse from our selection of Christmas cards made with recycled materials.
This post contains affiliate links that help support this blog at no extra cost to you.
Find more Christmas crafts ideas on Hello Holy Days!